If you've ever sat in front of Driving School in Grand Theft Auto: San Andreas and wondered why a side activity feels more important than half the main map, you're not alone. The game does a good job of making this school feel like a test of patience, but it's really a checkpoint for players who want better vehicle control, a stronger garage setup, and a cleaner path through San Fierro.
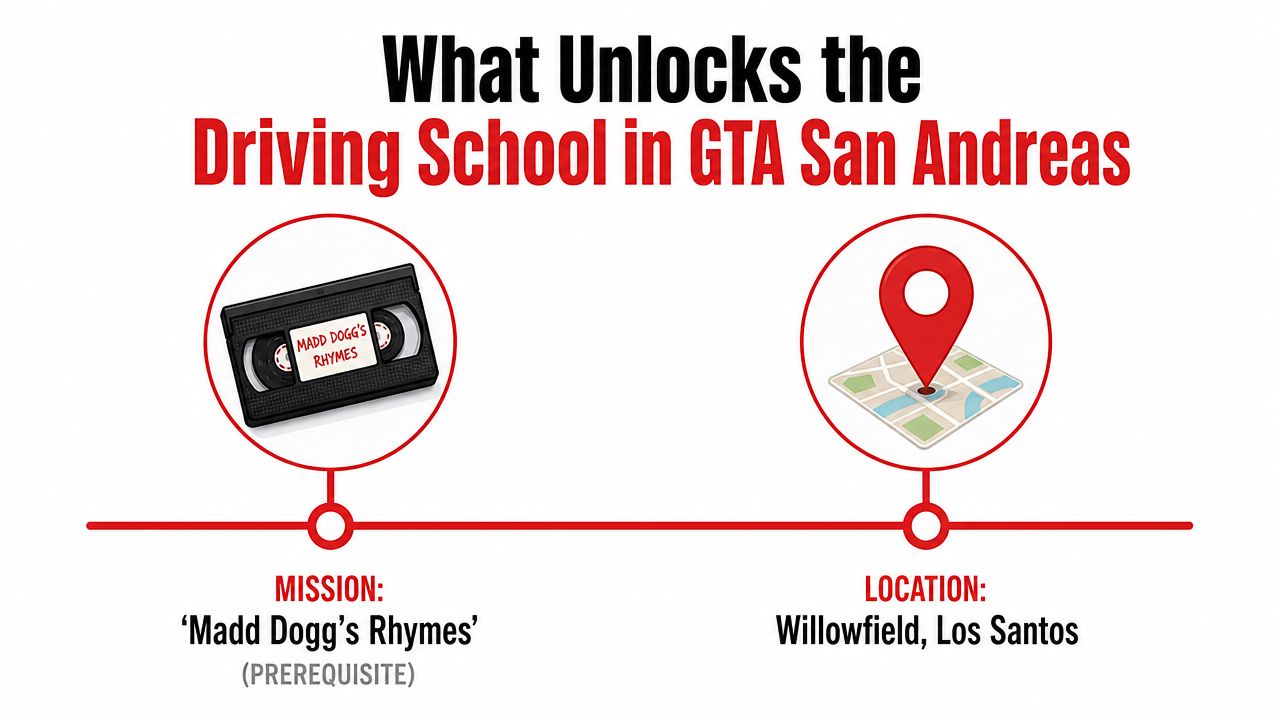
The phrase driving school GTA San Andreas usually gets searched by players who are stuck on one lesson, unsure whether bronze is enough, or trying to figure out if the school matters for the story. It does matter, but not in the way many expect. The school sits in Doherty, San Fierro, becomes available after “Deconstruction” when Jethro calls CJ, and appears as a red S near the Doherty safehouse and garage area, at Turning Tricks Driving School. It's also one of the game's most important progression gates because finishing its 12 lessons raises Driving Skill and opens the route from the Doherty garage to Wang Cars, which then leads into the Wheel Arch Angels mod garage and the Exports and Imports lists. Driving School details on the GTA Fandom wiki make that chain clear.
For a player who's already driving around San Fierro, that means the school isn't busywork. It's a gate that changes what the game lets you do next, and it's one of the cleanest examples of Rockstar turning vehicle training into progression. If you want a real-world comparison, a scenic route map like the one in Blade Auto Keys' Wales scenic drive guide shows the same basic idea, a route becomes easier when you understand the road before you rush it.
What Unlocks the Driving School in GTA San Andreas
The first thing to understand is timing. The Driving School does not appear at the start of San Fierro, and it isn't something you stumble into while free-roaming. It becomes available only after “Deconstruction”, and then Jethro calls CJ to point the player toward the school in Doherty.
That matters because the game is telling you this is a milestone, not a detour. The red S marker sits just south of the Doherty safehouse and garage area, so if you're already operating around that part of the city, the school is easy to reach once it becomes available. The location at Turning Tricks Driving School in Doherty, San Fierro is fixed, which means you don't need to hunt around for a random icon or hidden trigger. The San Andreas driving school guide points to the same location and availability timing.
What makes the school worth stopping for is the chain reaction behind it. Completing the lessons increases Driving Skill, but notably, it opens the path from the Doherty garage into Wang Cars. That business route then leads to later systems tied to vehicle modification and export work, so the school is doing far more than teaching parking and spins.
Practical rule: if a side activity unlocks a property chain, treat it like a main objective in disguise.
That's why experienced players usually clear the school as soon as it opens. Not because the lessons are flashy, but because the reward structure is built into San Fierro's progression. If you keep moving past it, you're delaying access to content that the game clearly expects you to pick up before pushing deeper into the city story.
The 12 Lessons Explained Step by Step
The best way to handle the school is to stop thinking of it as one giant exam. It's 12 lessons, and each one trains a different kind of vehicle control, from simple positioning to awkward reversal and off-road handling. You only need to reach at least bronze on each lesson, but the real skill comes from understanding what each test wants from the car, not just the checkpoint.
Start with rotation and parking
The early lessons focus on 360-degree spins, perpendicular parking, and parallel parking. These are the tests that punish panic more than speed. For the spin, use the handbrake only to start the rotation, then keep the car balanced so it doesn't drift off-line. For parking, the goal is to line up the car early, then make small corrections instead of cranking the wheel at the last second.
Then deal with the precision lanes
The slalom, gate challenge, and cone-based checks are where most players lose time. The car doesn't need to be fast, it needs to stay pointed in the right direction. A clean racing line through the cones matters more than brute force, and braking too late usually causes the car to drift into obstacles.
Handle the speed-and-control tests
The hill climbs, highway burnout, and final city checkpoint ask for controlled acceleration instead of full throttle everywhere. Keep momentum, but don't floor it when the road narrows or the camera angle hides the next turn. The game rewards a vehicle that keeps moving through mistakes and reaches the checkpoint under control.
Save the tricky reversals for last
The reverse corners and the two off-road tests are where players get caught by oversteer. Reverse slowly, correct early, and resist the urge to over-turn the wheel. On dirt, the car slides more easily, so the safest move is usually to stay smooth instead of trying to snap the car into place.
| Lesson | Theme | Key Tip |
|---|---|---|
| 1 | 360 spin | Use the handbrake to start, then settle the car |
| 2 | Perpendicular parking | Line up early, then make small corrections |
| 3 | Parallel parking | Reverse gently and stop before overcorrecting |
| 4 | Slalom | Commit to the lane and keep momentum |
| 5 | Gate challenge | Aim early, not late |
| 6 | Hill climb | Hold throttle without jerking the steering |
| 7 | Cone checkpoints | Thread the car, don't smash through the line |
| 8 | Highway burnout | Stay smooth at speed |
| 9 | Reverse corner | Turn less than you think you need |
| 10 | Off-road test | Ease off the throttle on loose ground |
| 11 | Off-road test | Keep the car straight after each slide |
| 12 | Final city checkpoint | Stay calm and finish clean |
That's the rhythm of the school. Once you understand which lessons are about placement, which are about momentum, and which are about reversing under pressure, the whole course stops feeling random.
Score Thresholds and What Medals Actually Unlock
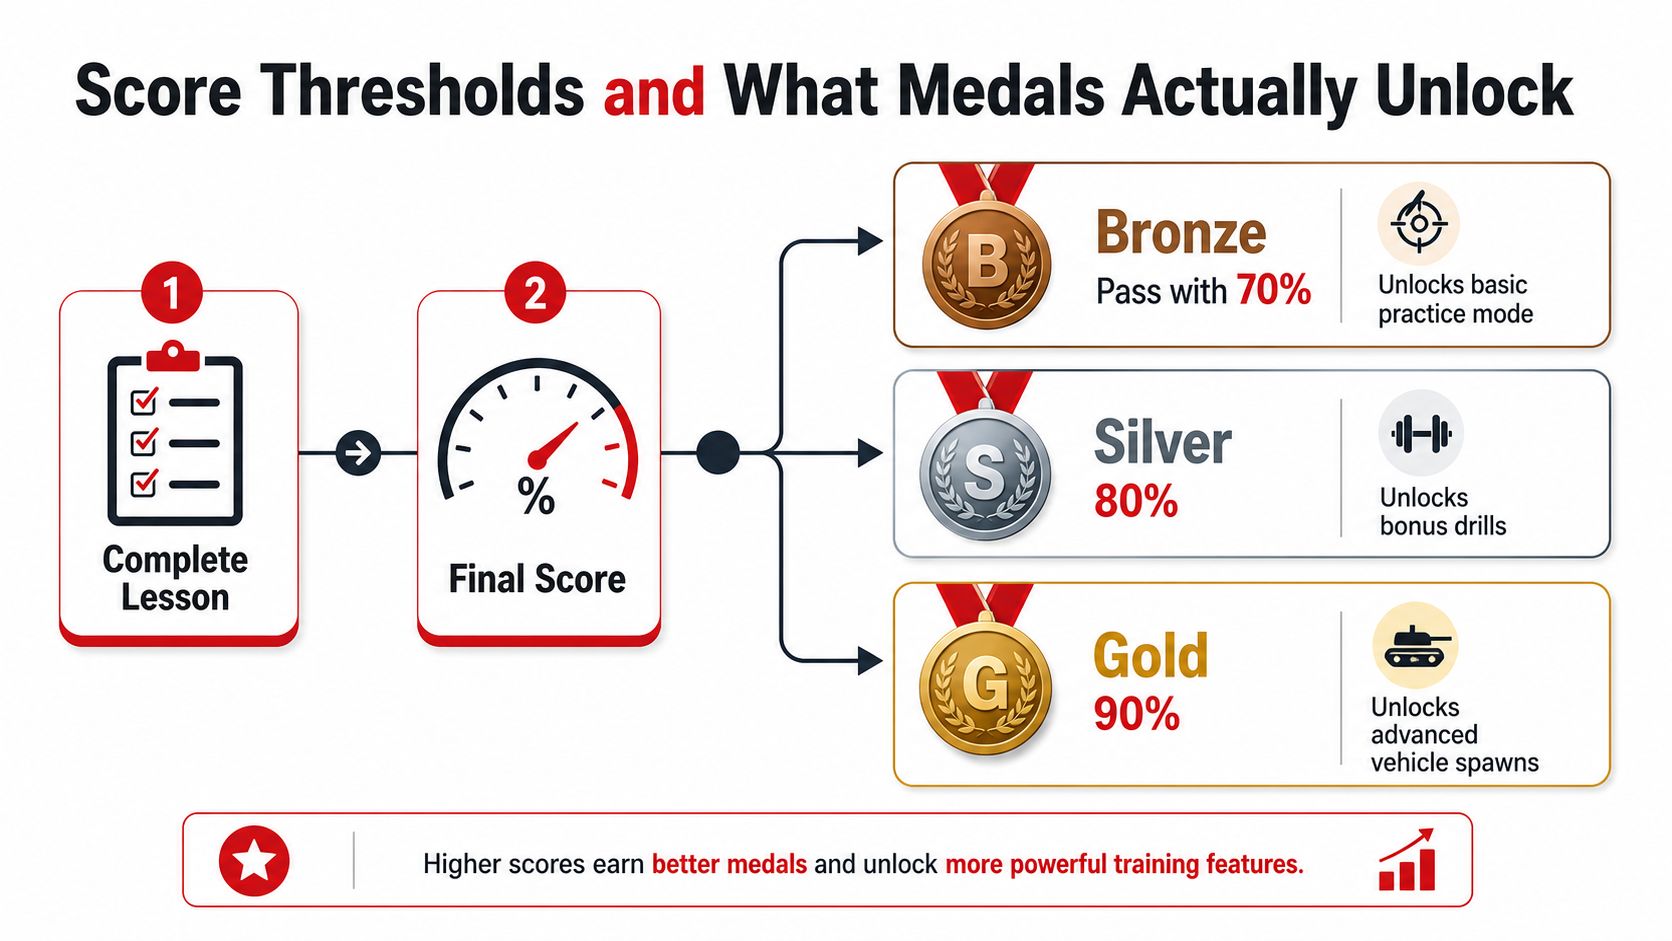
The medal system is where a lot of confusion starts. A lot of players assume they need perfection, but the practical threshold for passing is above 70% per test, according to guide-level walkthroughs, and that's enough to move forward through the school. Higher medals are there for bragging rights and cleaner performance, not because the game blocks the core reward behind gold.
The important reward is not the medal animation, it's the progression. Completing the lessons raises Driving Skill and provides access to Wang Cars, which then opens the door to the Wheel Arch Angels mod garage and the Exports and Imports lists. That's the practical payoff, and it's why players who only care about story missions still end up coming back to the school. The Riot Pixels San Andreas driving school guide ties the school to that broader four-school framework of driving, bike, boat, and plane training.
A common misconception is that this school is required for the main story. It isn't. The confusion comes from the fact that the lessons are required for the Wang Cars chain and for broader completion goals, so players mix up side progression with story progression. Community discussion around the school requirement reflects that split, some players treat it as a 100% task, while others focus on its role as a property acquisition.
Completing it for bronze is enough to keep moving. Chasing better medals is about mastery, not access.
That's the honest answer. If you want the game to open its next doors, bronze is enough. If you want sharper handling and cleaner runs, higher medal attempts are worth the effort, but they're a choice, not a requirement for the core progression chain.
Common Pitfalls and Quick Fixes Players Hit Every Run
Most failures in the school come from the same handful of mistakes, and the good news is that they're fixable once you know what's going wrong. Players usually don't fail because they don't understand driving, they fail because they overreact when the car starts to drift, clip a cone, or lose momentum for half a second.
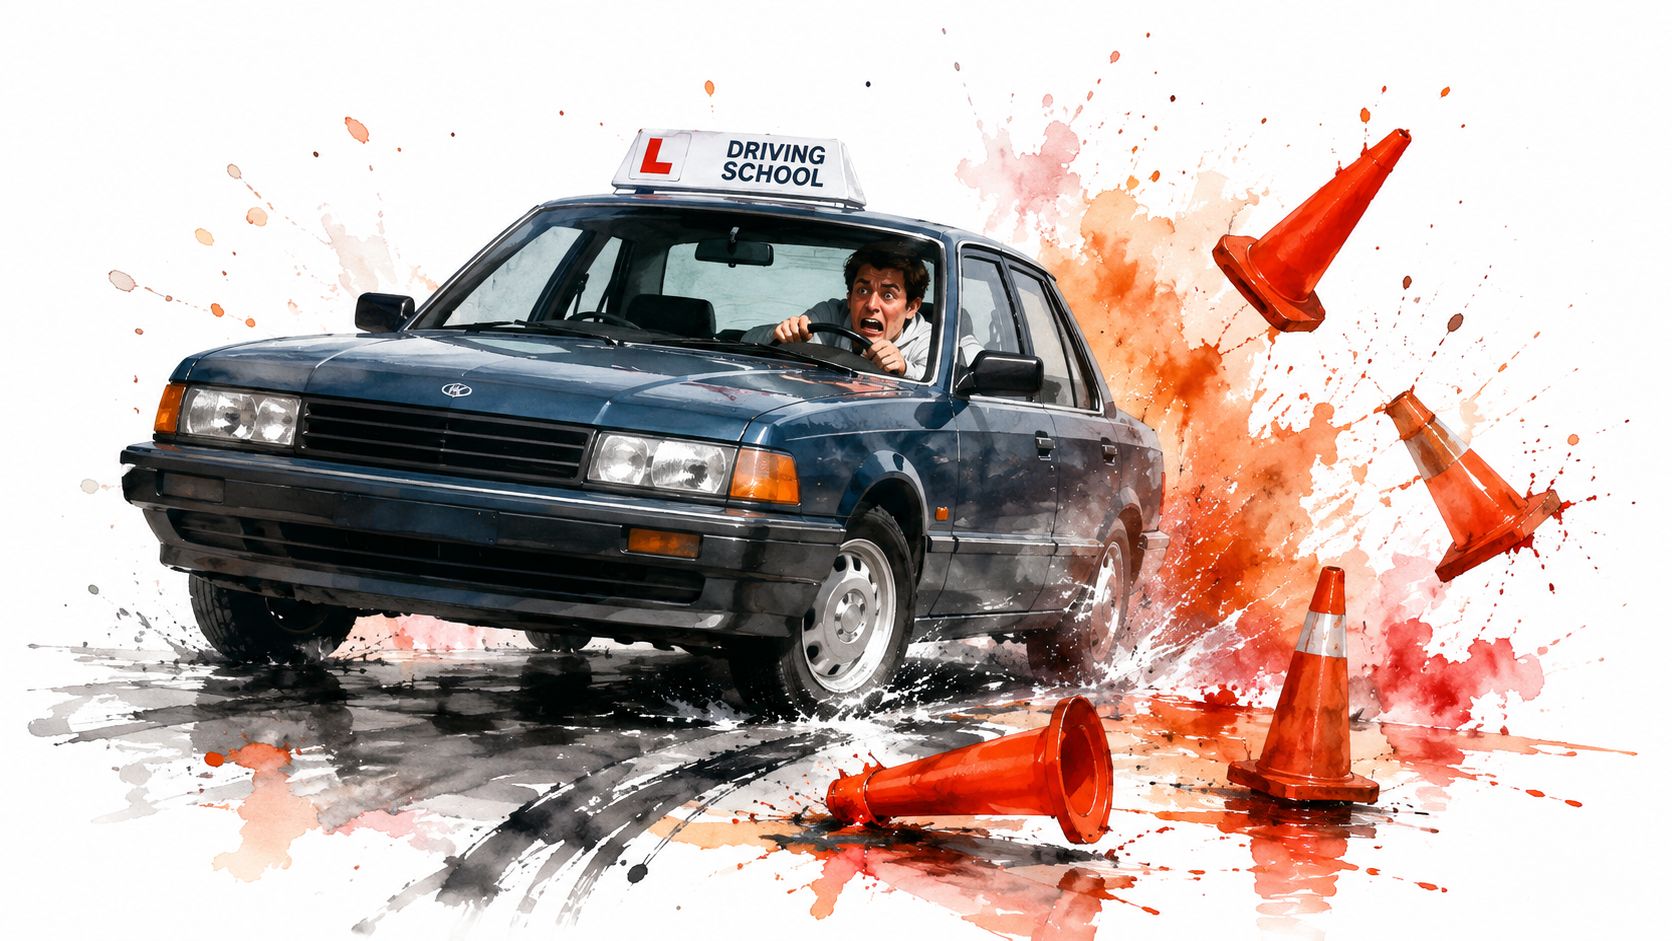
The biggest mistakes and the fastest fixes
- Stopping after a cone hit: keep the car moving. The game can still give completion if you reach the checkpoint, even after a minor collision.
- Overcorrecting on the 360 lesson: use the handbrake only to begin the turn, then let the car settle before making another input.
- Losing momentum in the slalom: don't brake repeatedly. Guide the car through the line and stay committed to the lane.
- Spinning out on dirt: ease off the throttle and steer less aggressively. Loose surfaces punish sudden corrections.
- Panicking on the highway run: look ahead to the next checkpoint and keep the car flowing through the turn.
The hardest mistake to break is oversteering after a small error. Once the car clips a cone or brushes a wall, players often assume the run is dead and start steering too hard. That usually makes things worse, because the game's own layout is often forgiving if you keep the vehicle alive and moving forward.
For players who want a plain parking reference, this parallel parking breakdown is useful because it reinforces the same habit the game wants, line up early, adjust calmly, and don't chase the curb at the last second. The lesson is the same whether the car is in San Fierro or in a real parking lot.
One-line fix: brake before the turn, not during it.
That single habit solves more failed runs than brute-force retries. If you keep throttle control, respect the racing line, and stop jerking the wheel after mistakes, the school becomes a lot less punishing.
What the In-Game School Teaches About Real Driving
The school's biggest value is that it rewards habits real drivers use. Smooth steering, controlled braking, and looking through the turn all translate well outside the game. Even the way you manage speed through an unfamiliar route has a real-world parallel, because rushing into a corner usually creates more correction than control.
A few game behaviors are useful as a mental model, but they shouldn't be copied blindly. The school sometimes rewards aggressive recovery after a mistake, and that can make reckless driving look normal if you don't separate game logic from real road behavior. The useful takeaway is not speed, it's discipline under pressure.
That's where formal instruction matters. A structured Joshua's Law-approved driver's education course gives teens the classroom foundation they need, and the 6-hour behind-the-wheel training requirement turns the theory into practice with an instructor in the car. For students who prefer flexible scheduling, online and virtual course options keep the classroom piece manageable while still meeting state requirements. A-1 Driving School's benefits of instructor-led lessons line up well with that approach.
The bridge from the game to Georgia licensing is simple. San Fierro trains your eye for spacing, timing, and recovery, and a certified instructor helps turn those instincts into habits that support a Georgia Class D license. The same discipline that helps you stay calm in a slalom also helps you stay consistent during real road practice and testing.
Real progress comes from repetition with feedback, not from guessing harder.
That's why the game works as a study guide, not a replacement. It points you toward the right habits, then real instruction turns those habits into something you can trust on the road.
Driving Lessons, Packages, and Scholarship Options in Georgia
Players who like the school's structured approach usually want the same thing in real life, a clear plan, flexible scheduling, and no guesswork about what comes next. That's where Georgia driver education stands out when it's organized around lessons instead of just one-off appointments. Teen and adult driving lessons, along with lesson packages, give students a way to build confidence at a pace that fits school, work, and family schedules.
For families who qualify, the Georgia Driver's Education Scholarship Grant Program can cover the cost of training, which makes formal instruction more accessible. If you're comparing providers or planning around insurance and licensing needs, it also helps to look at broader local resources like browse Georgia agents so the rest of the driving transition stays coordinated.
A practical route is to pair lessons with a road-test plan. Georgia road test preparation helps teens who want a certified-administered option instead of waiting through the DDS process, and that's often the cleanest next step after classroom work and behind-the-wheel practice. The core idea stays the same as in the game, train first, test after, and don't rush the part that teaches control.
For students who want the scholarship details in one place, the Georgia Driver's Education Grant Scholarship Program page is the right starting point. If you're ready to compare class times, lesson packages, and enrollment options, visit A-1 Driving School and choose the path that fits your schedule.