
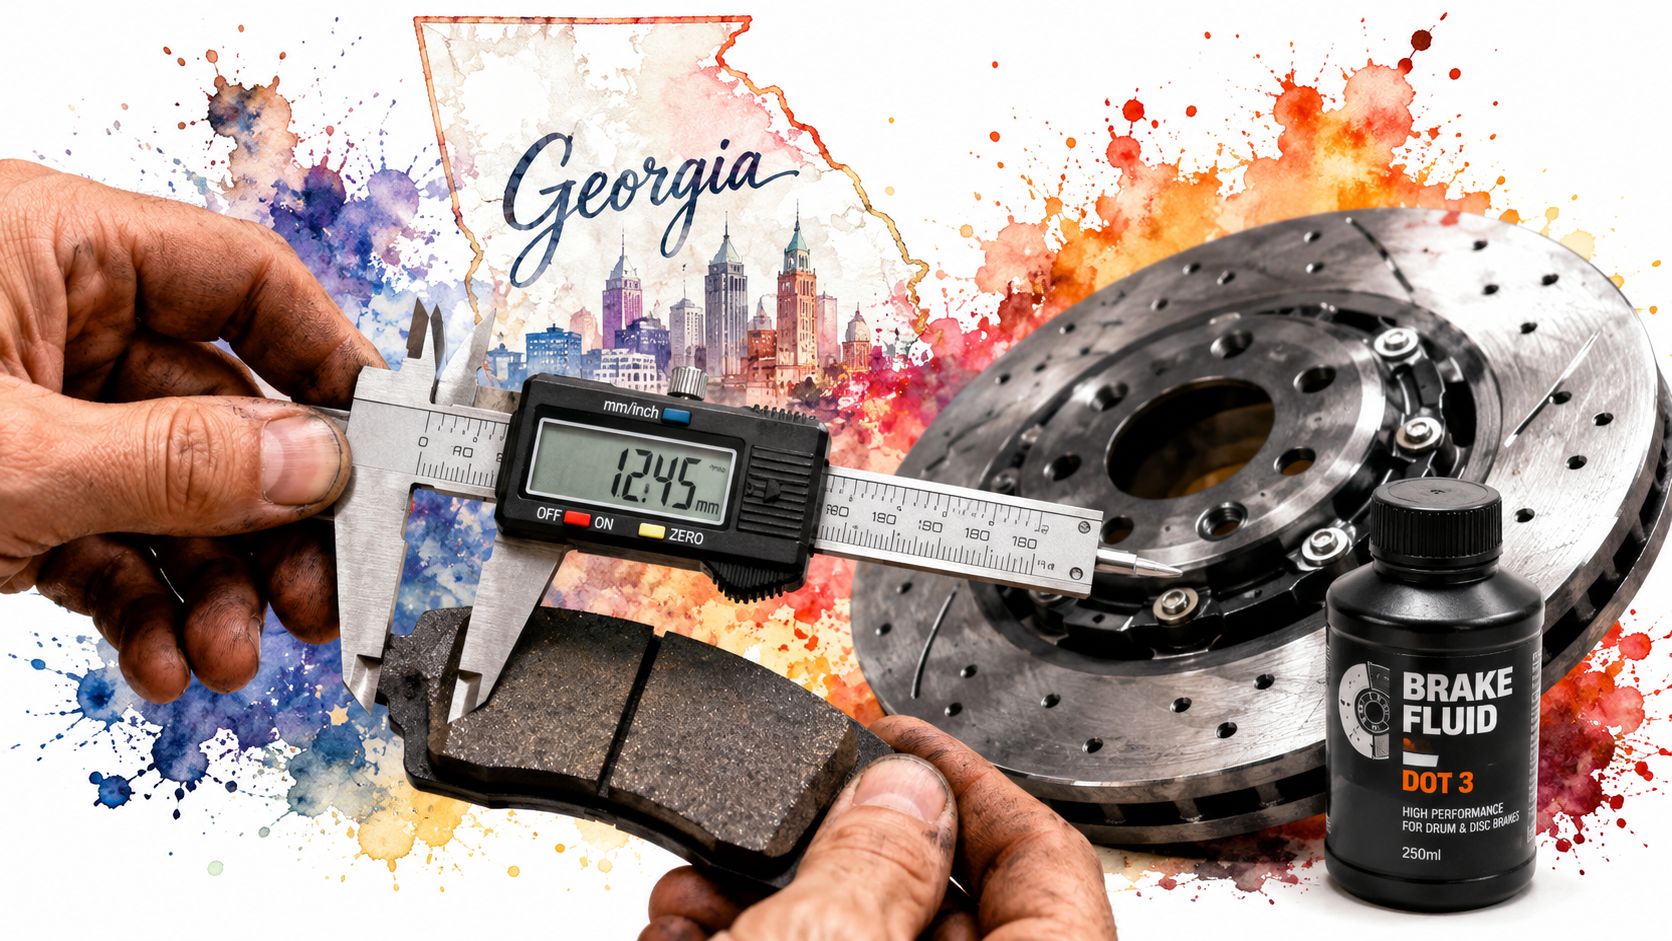
Your teen is ready for a Georgia road test. The mirrors are adjusted, the seat is comfortable, and the route has been practiced. Then, during a final drive, the brake pedal feels softer than usual or the car pulls slightly when stopping. That's the moment to pause, not guess.
A brake system inspection helps new drivers and parents understand whether a vehicle is ready for ordinary driving and road-test practice. It also teaches an important lesson from driver education: safe driving depends on both the person behind the wheel and the condition of the vehicle.
Why Brake Inspection Matters for Georgia Drivers
At A-1 Driving School, a teen preparing for a Georgia road test may practice smooth stops, controlled intersections, and emergency awareness. Those skills are difficult to demonstrate if the vehicle has a brake problem. A pedal that feels soft, a car that pulls during braking, or a warning light that stays on can affect both confidence and examiner safety decisions.
Georgia law requires every motor vehicle to have brakes in good working order. The brakes must also be adjusted so they operate as equally as practicable on wheels on opposite sides of the vehicle, as stated in Georgia's brake maintenance statute. That balance matters because uneven braking can make a car pull, reduce stability, and change how the driver must respond.
Practical rule: A vehicle that stops is not automatically a vehicle that stops safely. The brake system must apply force consistently and predictably.
A basic brake system inspection should be part of the vehicle knowledge connected to Joshua's Law driver education. Joshua's Law coursework teaches Georgia teens the responsibilities that come with driving, and vehicle awareness supports those lessons. A student who understands brake pedal feel, warning lights, fluid level, and stopping response is better prepared to recognize a problem before a road test or daily trip.
Before scheduling a test, review A-1's vehicle inspection checklist and make sure the car is ready for evaluation. If a parent notices a concern and wants a qualified shop to examine it, a resource such as brake inspection near me can help locate professional service.
Brake awareness doesn't require a new driver to rebuild a caliper. It does require knowing when a symptom means, “stop practicing and ask for help.” That judgment is part of responsible driver training.
Safety First Before You Start Inspecting
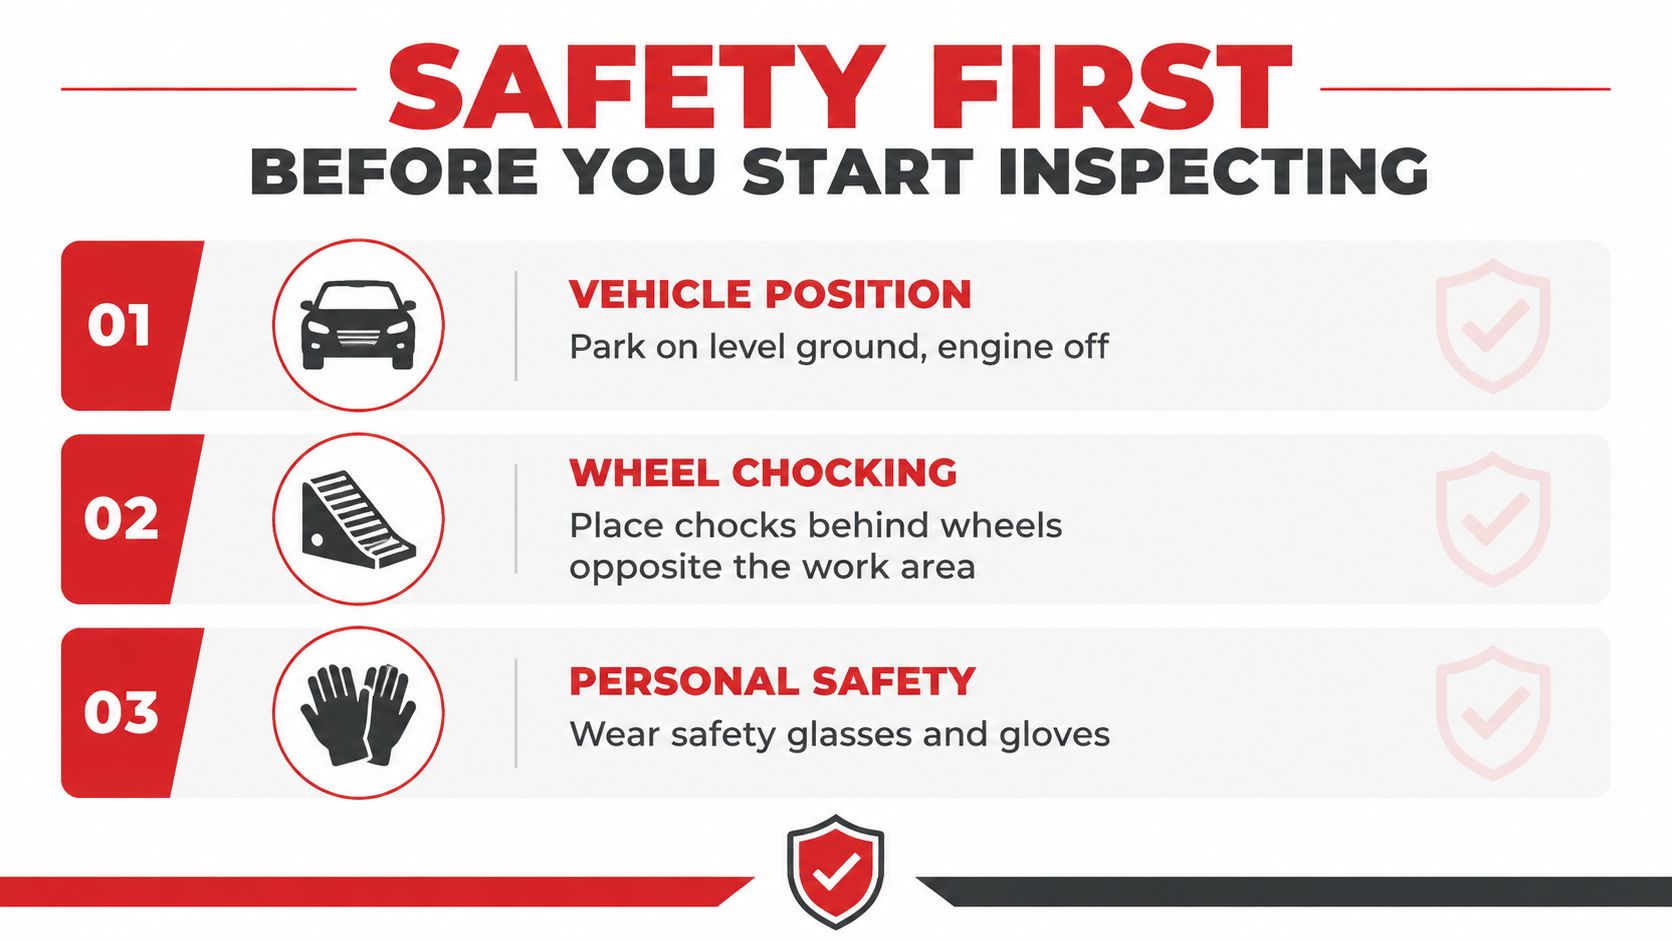
A brake inspection begins before anyone touches a wheel. Park the vehicle on level, stable ground, select the appropriate transmission setting, switch off the engine, and keep the keys controlled so nobody starts the vehicle while work is underway. If the car has just been driven, wait until the brakes have cooled. Rotors, drums, and related hardware can remain hot after normal traffic or repeated practice stops.
Secure the vehicle with wheel chocks. Place them behind the wheels opposite the area where you're working, and don't rely on the parking brake alone. A vehicle that shifts while someone is looking behind a wheel can cause an injury or damage the car.
CVSA's hydraulic brake-system inspection procedure starts with the vehicle secured. The engine is shut off, the wheels are chocked, and the hood is opened before inspectors identify the hydraulic brake type and examine the system.
Gather simple tools before beginning:
- Flashlight: Illuminate the inner pad, hose connections, caliper body, and rotor surface.
- Protective equipment: Wear safety glasses and gloves to protect your eyes and hands.
- Measurement tools: Keep a brake-pad thickness gauge or caliper available instead of estimating wear.
- Inspection notes: Record observations and measurements so a parent or technician can compare changes later.
Don't crawl under a vehicle supported only by a jack, and don't open a pressurized or hot component. New drivers can learn a great deal from a visual check, but lifting a vehicle or removing brake parts should follow the manufacturer's procedures and, when necessary, a trained technician's guidance.
Inspecting Brake Pads Rotors and Calipers
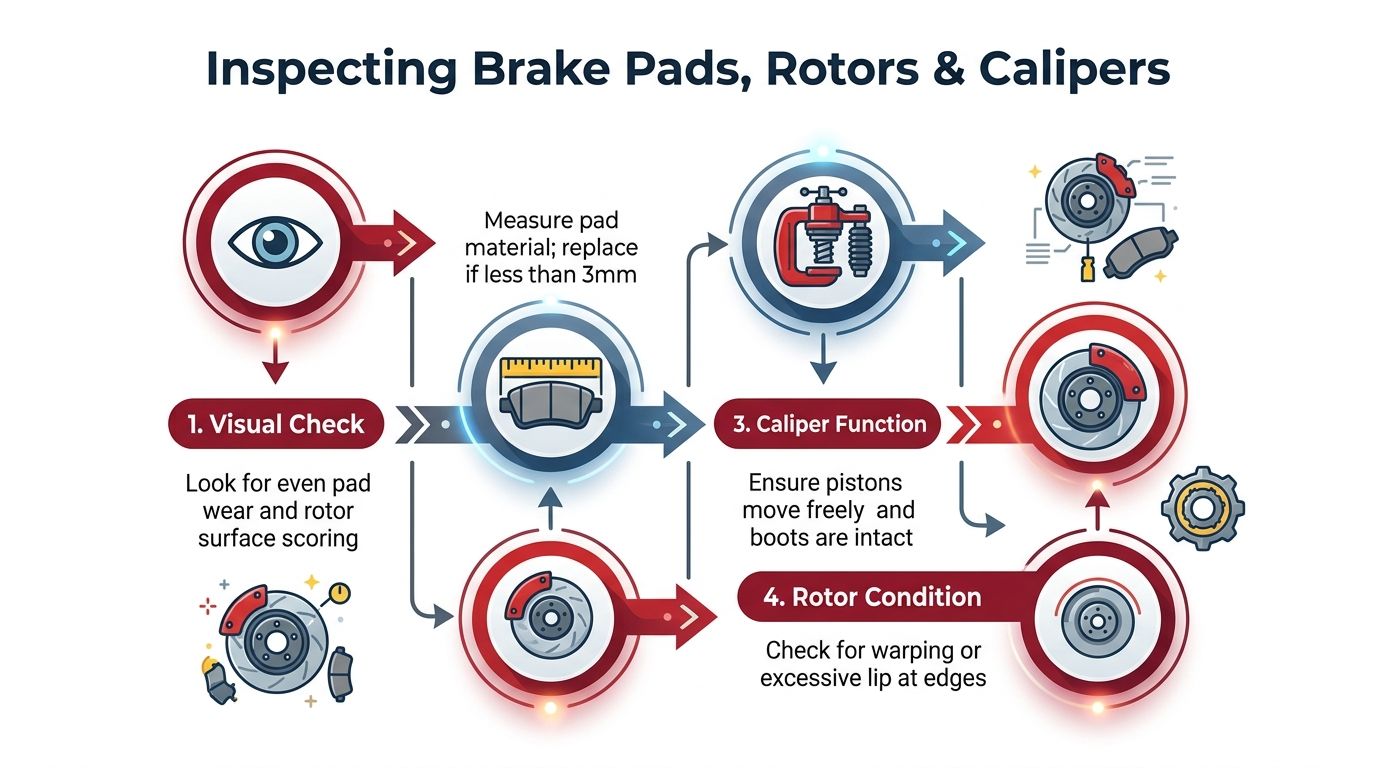
Brake pads, rotors, and calipers work as a unit. The pads create friction, the rotor provides the rotating surface, and the caliper applies pressure. Inspecting only the pad visible through the wheel can miss a serious defect on the inside.
Start with pad thickness
Look at both the inboard and outboard pads on each accessible brake assembly. Uneven wear can indicate a seized slide pin, a caliper that isn't releasing correctly, or another hardware problem. Brake-inspection guidance generally treats friction material thinner than about 3 mm, or 1/8 inch, as due for replacement. Use a gauge or caliper to measure rather than judging by appearance, as explained in this technical brake inspection guide.
A pad may look acceptable from outside the wheel while the inner pad is nearly worn through. If the measurements differ noticeably, don't treat the thicker pad as proof that the assembly is healthy. Uneven wear deserves diagnosis.
Examine the rotor surface
Use a flashlight to check for deep scoring, cracks, heat checking, pronounced grooves, or unusual discoloration. A smooth change in surface appearance may be normal, but cracks and severe scoring can affect the friction surface and should be assessed professionally.
Commercial enforcement has also drawn attention to drum and rotor condition, not just pad thickness. CVSA's 2025 Brake Safety Day results recorded 32 drum and rotor violations, showing that component condition can be part of a formal inspection.
Check caliper movement and hardware
Look for torn rubber boots, signs of fluid leakage, damaged hardware, and slide pins that may be seized. A caliper that doesn't release can keep a pad against the rotor, creating heat, noise, uneven wear, and a pull during braking. Don't force a piston or dismantle the assembly without the correct procedure.
If the steering wheel shakes during braking or ordinary driving, use A-1's explanation of why a steering wheel may shake while driving as a starting point, then have the vehicle evaluated if the symptom continues.
A good inspection ends with a written finding: measured pad thickness, rotor observations, caliper concerns, and the decision to monitor, repair, or obtain a professional diagnosis.
Checking Brake Fluid Lines and ABS Components
If a Georgia student checks the car before road-test practice, the brake-fluid reservoir offers a useful starting point. The hydraulic system transfers pedal force to the wheel brakes. Compare the fluid level with the reservoir markings, then look for moisture, debris, or unusual contamination. Brake fluid may darken with age, but a very dirty appearance, unexpectedly low level, or fluid around the reservoir needs professional attention.
A low level can occur as brake pads wear, yet it can also signal a leak or advanced wear. Do not add fluid and ignore the cause. Use only the type listed by the vehicle manufacturer, and keep dirt out of the open reservoir. Understanding what brake fluid is helps new drivers connect this check with the hydraulic system's role.
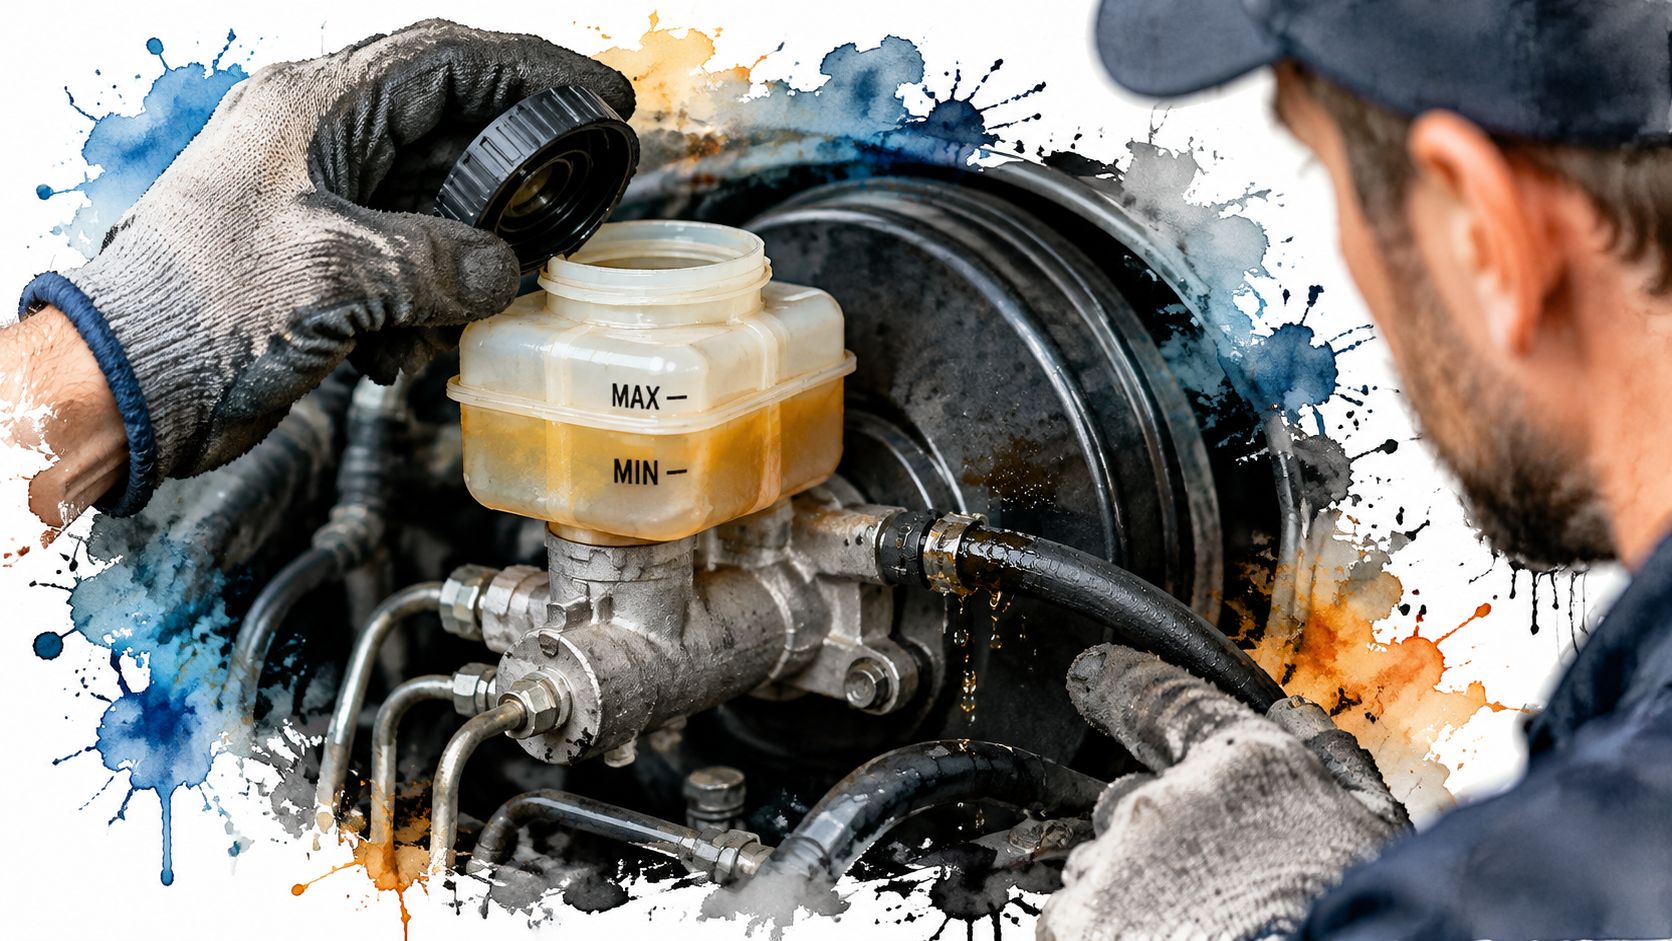
Follow the visible lines from the reservoir toward the wheels. Look for corrosion, wet spots, or dents on rigid steel lines. Flexible hoses should not show cracks, bulges, rubbing, or leaks near their fittings. This whole-path check helps a student understand that safe braking depends on more than pad condition, a useful maintenance habit for Georgia driver education and road-test preparation.
With the vehicle stationary, press the brake pedal. It should feel firm and remain consistent. A spongy pedal, a pedal that sinks while held, or a need to pump repeatedly may indicate air, fluid loss, or another hydraulic fault. Repeated road testing is not an appropriate way for a student to investigate those symptoms.
During startup, the ABS warning light should appear briefly and then turn off. If it stays illuminated, comes on while driving, or appears with another brake warning, arrange professional diagnosis before road-test practice. The CVSA hydraulic brake inspection document provides a reference for checking lines, hoses, reservoirs, and related hydraulic components. Manufacturer service information still governs the correct fluid and repair procedure for a specific vehicle.
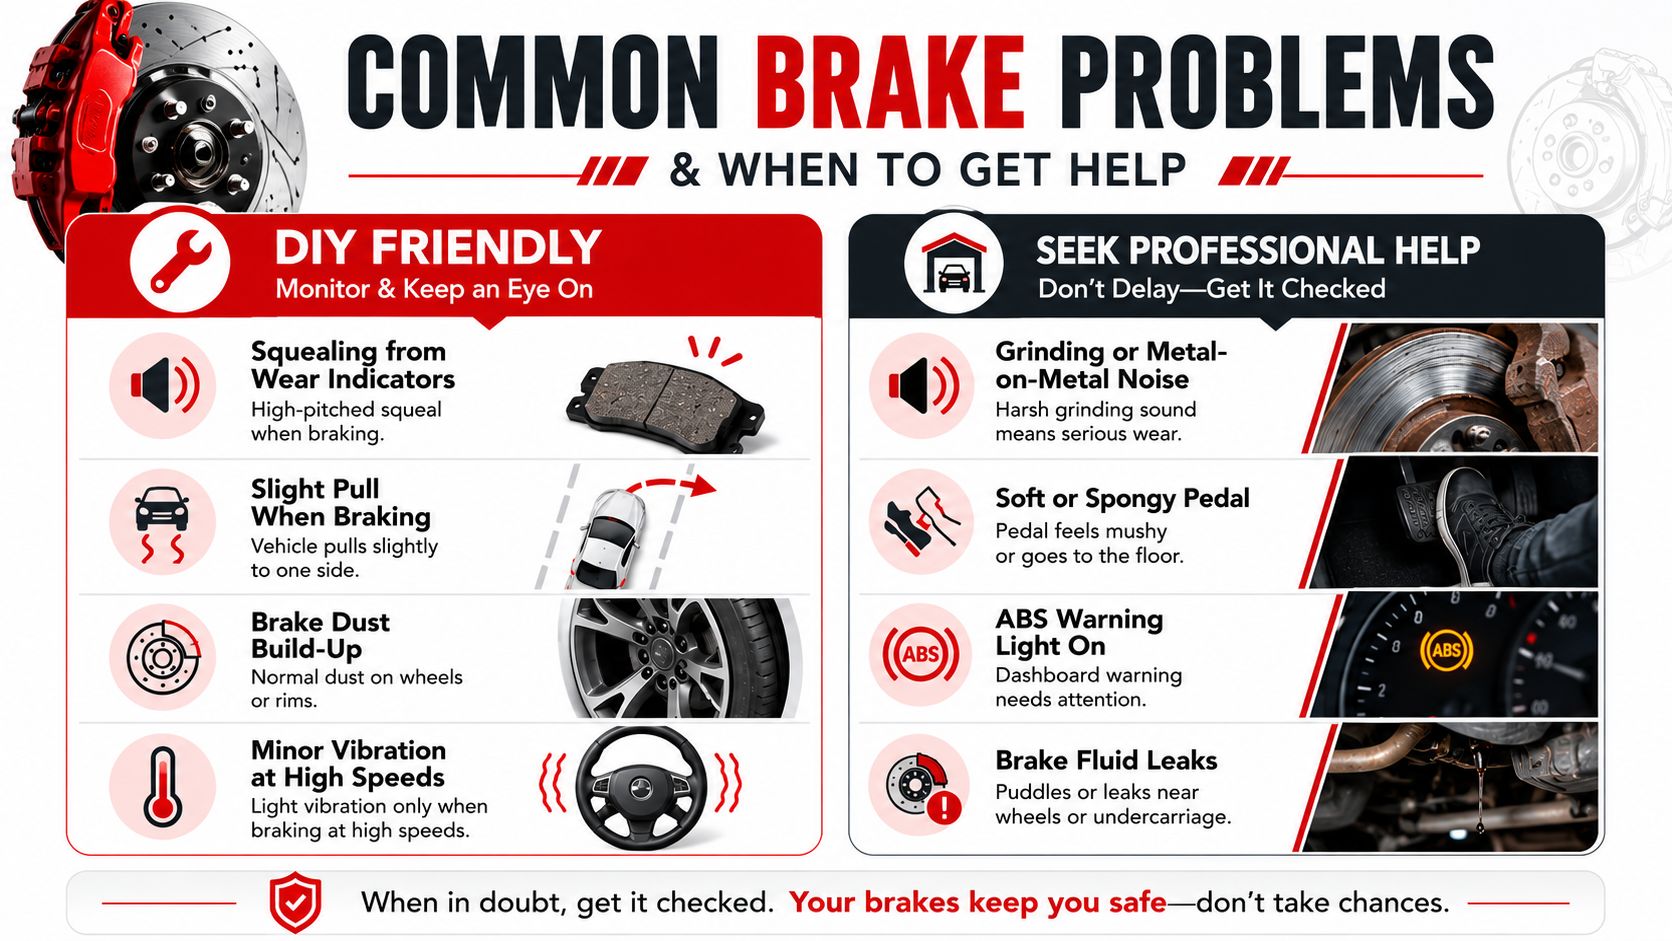
Common Brake Problems and When to Get Help
Brake symptoms are clues, not diagnoses. The same noise can come from different causes, so the safest decision depends on how severe the symptom is and whether the vehicle's stopping behavior has changed.
Sounds and vibration
A light squeal may come from a wear indicator, surface condition, or brake dust. If it appears regularly, inspect the pads and schedule service rather than assuming it will disappear. Grinding is different. Metal-on-metal noise can mean the friction material is gone, so continuing to drive may damage the rotor and reduce braking performance.
Pulsation or vibration through the pedal can reflect rotor irregularity, uneven deposits, suspension concerns, or another issue. If the steering wheel also shakes, avoid using the car for road-test practice until the cause is identified.
Pulling and pedal changes
A car that pulls to one side during braking may have uneven pad wear, a sticking caliper, tire or suspension trouble, or a hydraulic imbalance. A slight pull deserves inspection. A strong pull or unstable stop calls for professional attention before driving farther.
A soft or spongy pedal is a higher-priority concern because the hydraulic system may not be producing dependable pressure. Don't try to make the symptom disappear by pumping the pedal and then carrying on.
Warning lights and documentation
An ABS or brake warning light should be treated as a request for diagnosis, not as an inconvenience to ignore. Write down when it appeared, whether the pedal changed, and whether any noise or pulling occurred at the same time.
For fleets and families managing repeated vehicle checks, Fleetalyse compliance tips for vehicle checks offer a useful reminder to document defects clearly. A written record helps the next driver, parent, instructor, or technician understand what happened.
DIY is reasonable for observing, measuring accessible pad material, checking fluid level, and recording symptoms. Professional help is the right choice for grinding, leaks, a sinking pedal, an active warning light, cracked components, or any repair involving hydraulic opening, caliper rebuilding, or rotor removal.
Brake Inspection Costs and Professional Services
No verified Georgia pricing schedule is available for the services discussed here, so a responsible budget should come from local written estimates rather than invented “typical” figures. Ask the shop to separate the inspection, parts, labor, fluid service, machining or replacement, and any additional diagnosis.
| Service Type | Cost Range | Frequency |
|---|---|---|
| Brake system inspection | Request a written local estimate | When symptoms appear or before a road test if the vehicle's condition is uncertain |
| Brake pad replacement | Request a written local estimate | When measured friction material is near the replacement threshold or wear is uneven |
| Rotor resurfacing or replacement | Request a written local estimate | When rotor condition is outside service requirements |
| Complete brake system overhaul | Request a written local estimate | Only when inspection identifies multiple related faults |
A low quote isn't automatically better. Compare whether each provider is measuring both pads, checking caliper movement, examining hoses and lines, testing pedal feel, scanning ABS faults when appropriate, and explaining why a component needs service.
Professional inspection is especially valuable when the vehicle has a warning light, fluid leak, severe noise, or a pedal problem. A parent may perform a safe visual check, but a qualified technician has the tools and training to evaluate hidden defects and complete repairs correctly.
Driver education should connect knowledge with action. A Georgia teen completing Joshua's Law coursework, practicing with an instructor, or preparing for a road test should know how to report a vehicle concern and refuse to treat a questionable brake system as “good enough.” A-1 Driving School provides Joshua's Law education through classroom and online options, driving lessons, road-test preparation, testing assistance, and driving lesson packages that help students build vehicle awareness alongside behind-the-wheel skills.
A-1 Driving School can help Georgia teens and adults prepare with driver education, flexible driving lessons and lesson packages, online Joshua's Law course options, and Georgia road-test preparation and testing assistance. Visit A-1 Driving School to explore training options and take the next step toward confident, safety-minded driving.