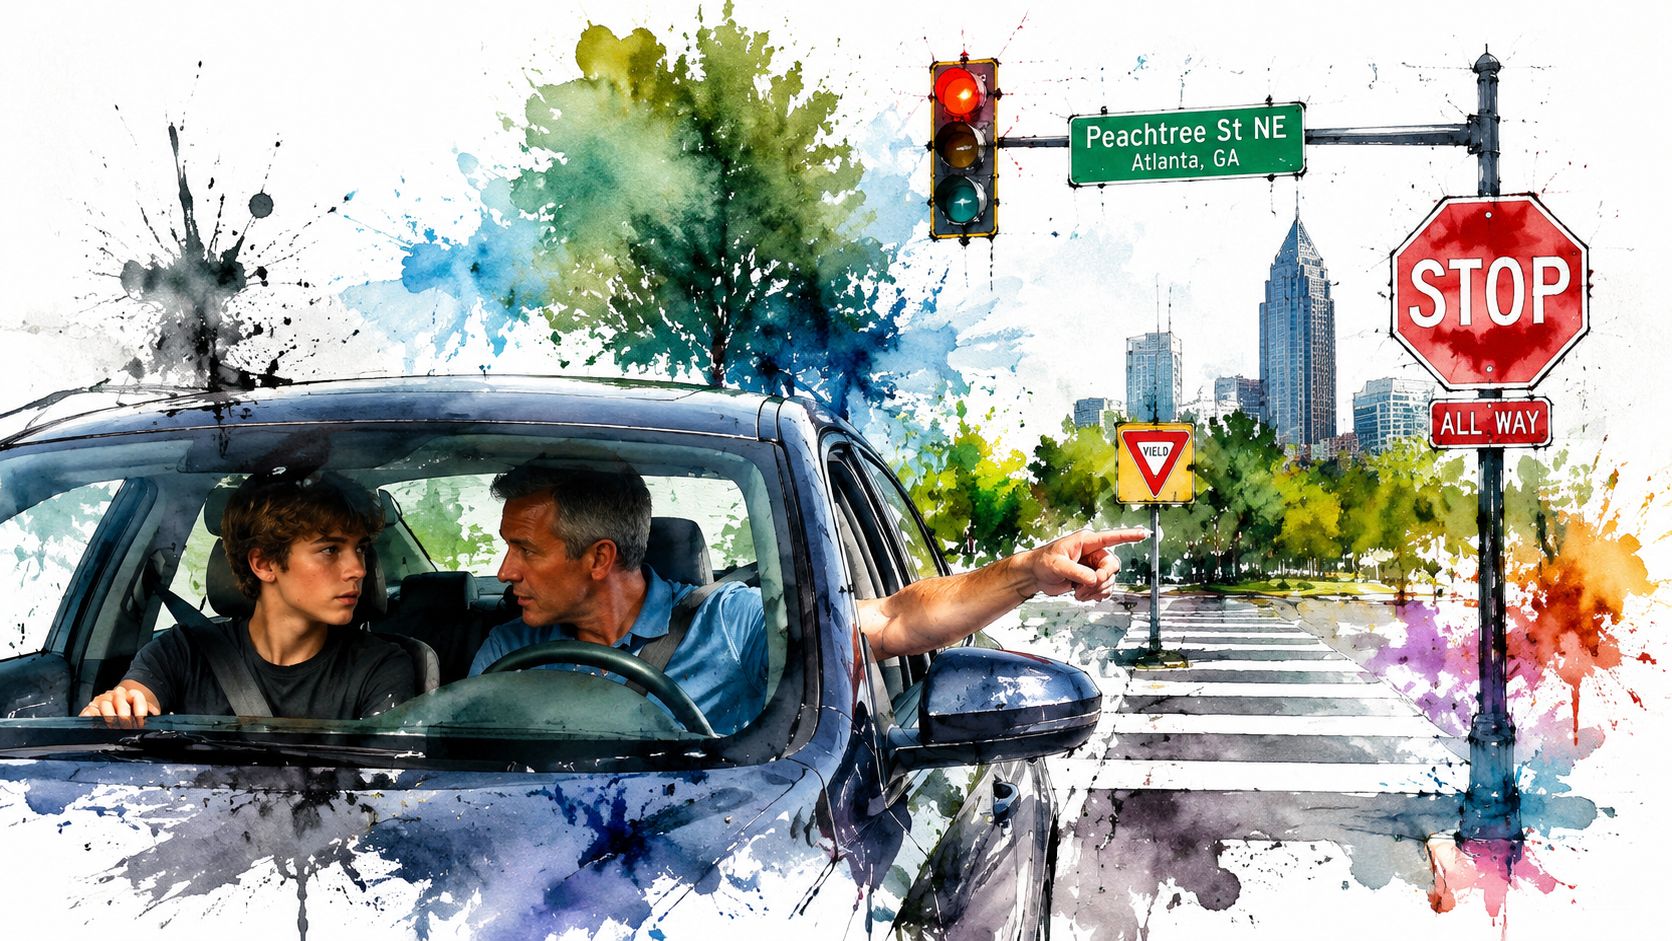
A green light appears as you approach a busy Georgia intersection. You begin moving, then notice a pedestrian partly hidden by a parked vehicle and an oncoming driver preparing to turn across your path. You have only a moment to decide whether to continue, slow down, or stop.
Safe intersection driving depends on a repeatable sequence: slow, scan, identify the control, yield when required, and complete the maneuver. These intersection safety tips apply to signalized junctions, stop-controlled roads, yield-controlled approaches, roundabouts, and complex urban intersections. They also turn classroom knowledge into habits that parents can reinforce during supervised practice.
Intersection training matters because the Federal Highway Administration identifies intersections as a major focus of crash prevention, with roughly one-quarter of traffic fatalities and about one-half of traffic injuries attributed to intersections each year. Georgia teens can build these skills through Driver's Education, a Joshua's Law course, professional driving lessons, driving lessons packages, and focused road-test preparation. If a visibility problem affects your vehicle, even headlight restoration from a mobile service can support safer nighttime scanning.
1. Approach Intersections with Reduced Speed and Maximum Visibility
Speed control begins before you reach the stop line. A driver who waits until the last moment to brake has less time to identify a pedestrian, cyclist, motorcycle, or vehicle emerging from a side street. Reducing speed early also gives you more opportunity to read lane markings, signal changes, turning lanes, and the behavior of nearby road users.
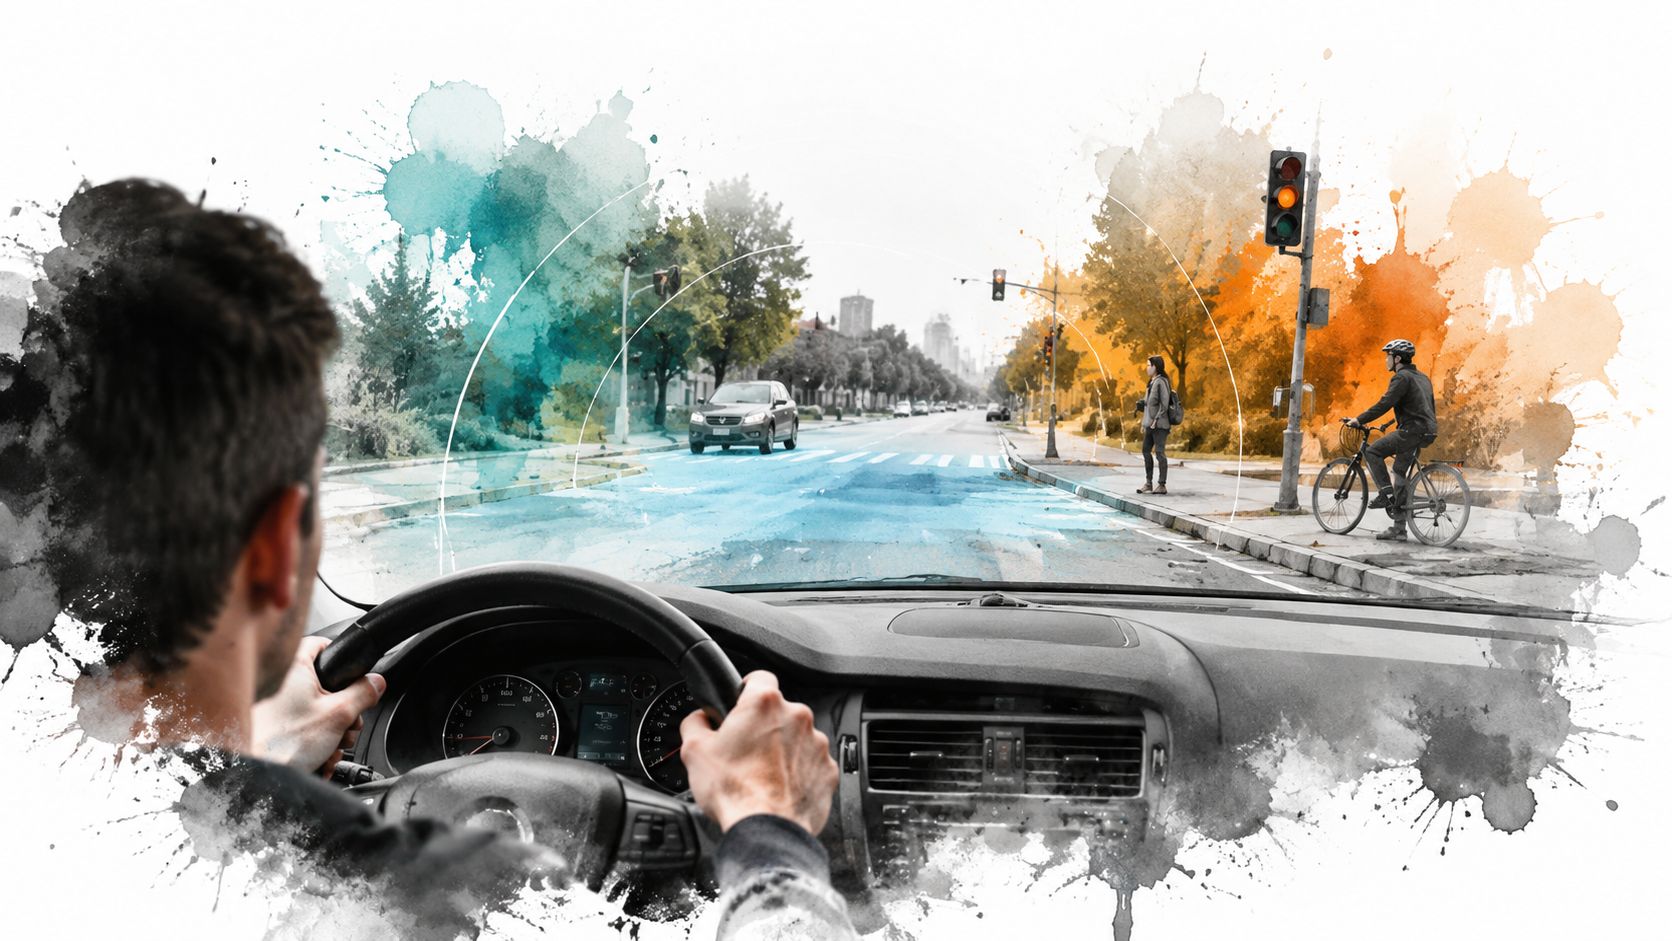
Start scanning well before the intersection. Look through the vehicles ahead, check both sides of the road, and notice anything that could block your view. A child near a curb, a cyclist approaching a crosswalk, or a vehicle angled toward a turn can change your decision before you arrive.
Build a repeatable scan
Use a consistent routine rather than relying on instinct:
- Scan early: Begin looking for hazards well before the intersection, not only when the signal becomes visible.
- Create time: Use a safe approach speed that lets you stop smoothly if the traffic pattern changes.
- Check the sides: Look for pedestrians, bicycles, scooters, and vehicles entering from side roads or driveways.
- Check mirrors: Confirm what's behind you before braking sharply or changing lanes.
- Look beyond the junction: A clear entry doesn't always mean a clear exit. Watch for stopped traffic, blocked lanes, or a vehicle about to turn.
A green signal doesn't remove the need to scan. The FHWA intersection-safety guidance treats speed management and observation as core defensive-driving behaviors because intersections concentrate many competing movements in one area.
Parents can practice this skill by asking a teen to name visible hazards before reaching the junction. In professional driving lessons, an instructor can point out missed sightlines immediately and help the student choose a safer braking point. For additional brake-timing practice, review how far away you should brake.
2. Understand and Obey Traffic Control Devices
Traffic signals and signs tell you how traffic should move, but they don't guarantee that every road user will follow the same instruction. Treat each control device as part of a larger decision. Read the signal, confirm the intersection is clear, and then proceed only when your lane and exit path are available.
A red light requires a complete stop before the appropriate line or crosswalk. A yellow light means you should prepare to stop when stopping can be done safely, not accelerate automatically. A green light permits movement, but you still need to yield to pedestrians and other road users who have priority.
Protected and permissive turns
A protected left turn uses a green arrow and separates your movement from opposing traffic. A permissive left turn uses a regular green light, which means you must wait for a safe gap and yield to oncoming vehicles and pedestrians.
Pedestrian signals deserve the same attention as vehicle signals. A walk indication may authorize a pedestrian to enter while a turning driver is preparing to cross the crosswalk. Watch the entire crossing area, not just the signal facing your vehicle.
Practical rule: A green light answers the question of whether you may proceed. It doesn't answer whether proceeding is safe right now.
Georgia teens studying for a Class D license need a clear understanding of traffic-control devices as part of broader driver education. A classroom or online Joshua's Law course can explain the rules, while driving lessons let students apply them at real intersections. Use this guide to understand traffic signal meanings and then practice identifying the control before making a maneuver.
Road-test preparation should include more than memorizing signal colors. Students should practice stopping at the correct location, responding to changing signals, checking crosswalks, and entering only when the intersection and intended path are open.
3. Execute Safe Left Turns at Intersections
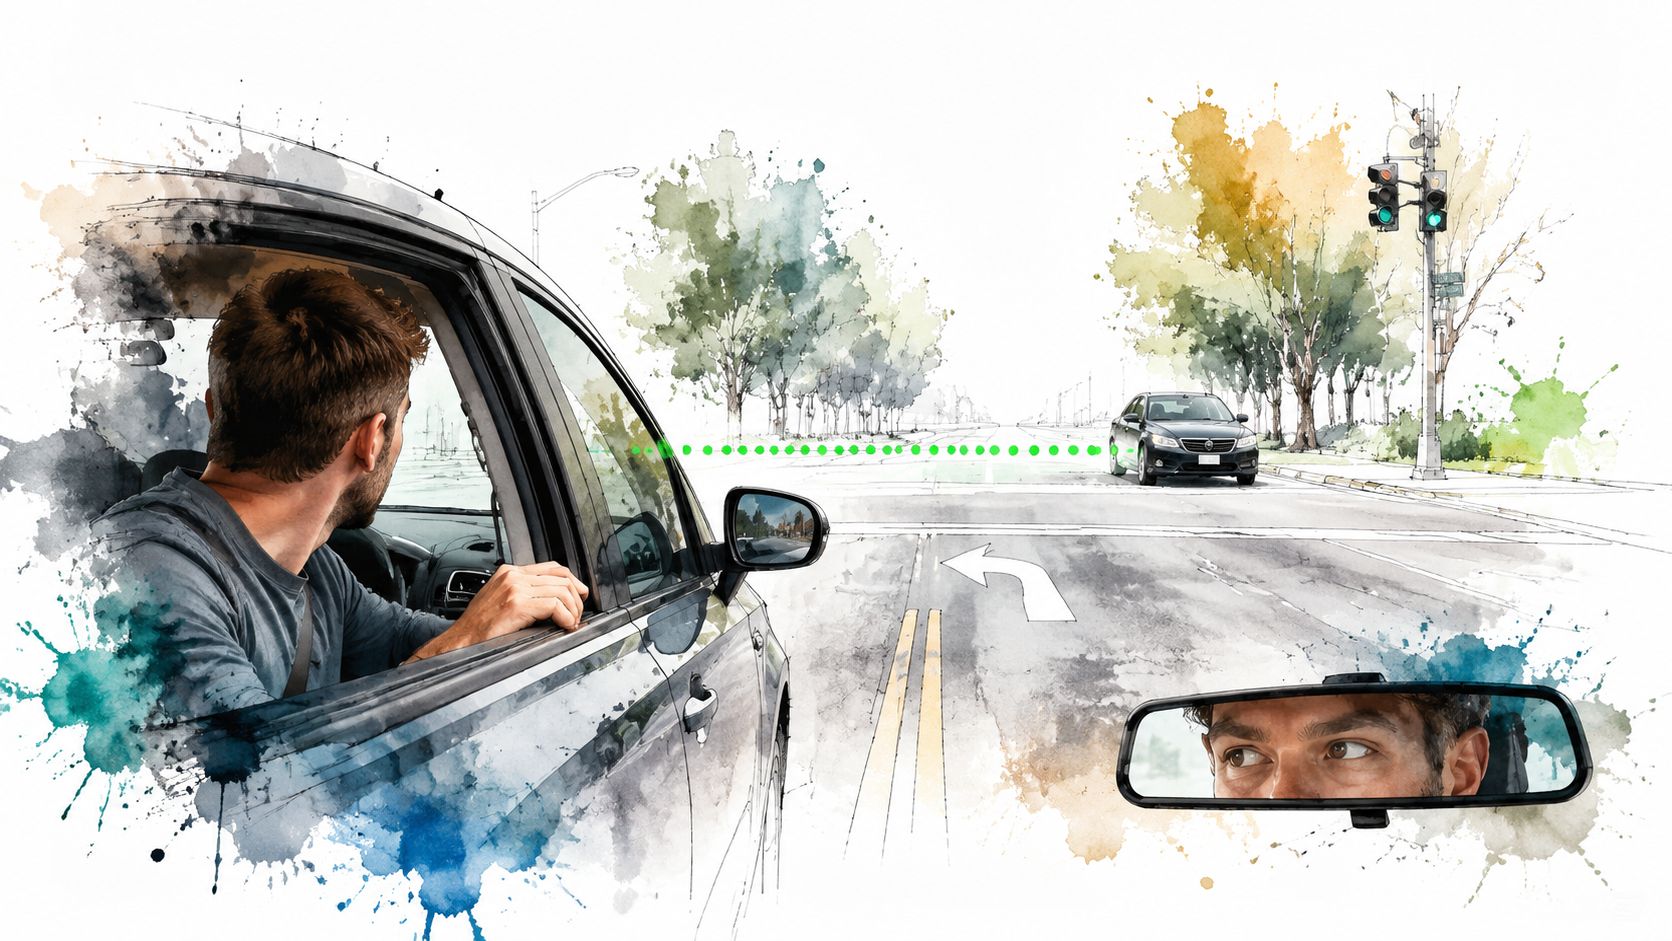
Left turns require several decisions at once. You must position the vehicle correctly, identify the signal condition, monitor opposing traffic, judge a gap, watch for pedestrians, and complete the turn without drifting into the wrong lane. The Transportation Research Board reports that about 75% of fatal intersection-related crashes involve multiple vehicles, with angle and turning collisions accounting for most of those events. That benchmark appears in the Transportation Research Board intersection-safety white paper.
Begin by checking your lane position and turn signal. If you have a green arrow, opposing traffic should be stopped, but you still need to check the crosswalk and the road you're entering. With a regular green light, remain behind the line until you can identify a safe opening.
Judge the vehicle, not the signal
Never rely only on an oncoming driver's turn signal. The driver may have left it on, may change direction, or may be traveling faster than expected. Watch the vehicle's front wheels, speed, lane position, and actual path.
If the gap feels uncertain, wait. A missed light cycle costs less than forcing a turn that leaves you exposed to oncoming traffic. Once you commit, keep moving steadily and finish in the correct lane. Hesitating in the middle of the intersection can confuse other drivers and leave your vehicle in the path of opposing traffic.
A-1 Driving School's driving lessons packages can give teens repeated practice with protected and permissive left turns. Instructors can identify late braking, poor lane positioning, rushed gap judgments, or failure to check pedestrians while the student is driving in real traffic.
Use the following video as a visual supplement before practicing with a qualified adult or instructor:
During a parent practice drive, choose a quiet intersection first. Ask the teen to describe the signal, opposing traffic, pedestrian area, available gap, and destination lane before turning.
4. Recognize and Respond to Right-of-Way Rules
Right-of-way rules help drivers decide who moves first, but they don't give anyone permission to proceed without looking. At a four-way stop, the first vehicle to stop generally proceeds first. If vehicles stop at the same time, the vehicle on the right has priority. Even when you believe you have the right-of-way, confirm that the other driver has seen you.
A practical example is a four-way stop with a vehicle opposite you and another vehicle to your right. If you and the vehicle opposite stopped together, the driver on your right should proceed first. If the other driver waves you through, don't rely on the gesture alone. Check the lanes and crosswalk before moving.
Yield when the situation changes
Pedestrians in a crosswalk require careful attention, including when your signal is green. Turning drivers must watch for people crossing the road they intend to enter. Cyclists and motorcycles can also occupy less visible parts of the intersection, so scan beyond the largest vehicle.
When two drivers appear ready to move, don't race. A brief pause and clear communication through position and movement is safer than trying to assert priority. If you're unsure who should proceed, yielding can prevent a misunderstanding, but yield predictably and avoid stopping in a location that blocks the crosswalk or intersection.
Georgia's driver education curriculum should connect the legal rule to the actual scene. A Joshua's Law course, whether completed online or in person, can introduce Georgia right-of-way principles. Behind-the-wheel lessons then help students interpret vehicle position, stop order, pedestrian movement, and turning intent under normal traffic conditions.
Parents can create simple practice checkpoints:
- Ask who arrived first: Have the student identify the stopping order before moving.
- Check the right side: When arrival is simultaneous, confirm which vehicle is on the right.
- Confirm the crossing area: Look for pedestrians and cyclists before entering.
- Choose patience: If another driver behaves unpredictably, wait for a clear path.
5. Manage Distractions and Maintain Focus at Intersections
Intersections demand attention at the exact moment many drivers feel tempted to multitask. A phone notification, passenger conversation, navigation adjustment, snack, or climate-control change can pull your eyes and mind away from traffic. The NHTSA on-scene study cited in its intersection-related crash-causation publication identified inadequate surveillance as the most frequent critical reason in intersection-related crashes, at 44.1%.
Set up the vehicle before you reach an intersection-heavy route. Enter the destination, adjust mirrors, choose climate settings, secure loose items, and place the phone out of reach. If navigation needs attention, pull over somewhere legal and safe rather than attempting to solve the problem while stopped in traffic.
Establish an intersection focus zone
A useful habit is to create a personal focus zone as you approach a junction. During that zone, keep both hands available, stop conversations that require visual attention, and avoid touching the phone or controls. Passengers, including supportive parents, should understand that silence during a complicated turn helps the learner process the scene.
Voice commands don't make every task safe. A command that requires visual confirmation or mental problem-solving can still interfere with scanning. Use technology before the drive, not during the few seconds when you're judging a gap or checking a crosswalk.
Driving lessons provide a controlled setting for correcting attention lapses. An instructor can notice when a student looks down, misses a signal change, or begins a maneuver before checking the blind spot. Families can also review distracted-driving prevention practices before supervised practice.
The goal isn't just to avoid holding a phone. It's to protect the complete observation sequence, especially during left turns, lane changes, signal changes, and approaches where parked vehicles obstruct the view.
6. Identify and Navigate Blind Spots and Obscured Sightlines
A vehicle can be present without being visible from your first glance. Parked cars, delivery trucks, landscaping, buildings, bridge supports, and large SUVs can hide pedestrians or cross traffic. Intersections with limited sightlines require slower decisions because you may need to reposition your view before you can assess the road.
Mirrors help, but they don't replace a head check. Set the mirrors correctly before moving, then turn your head to inspect the area beside and behind the vehicle before changing lanes or turning. At a stop, avoid creeping so far forward that you enter the crosswalk or cross traffic's path. Move only enough to improve visibility when the road design and stop line allow it.
Use visibility in stages
Think of an obstructed intersection as a staged scan:
- Stop at the required point: Keep the vehicle behind the stop line or crosswalk.
- Search the open area: Check left, right, and left again for approaching traffic and people.
- Reposition carefully: If permitted and necessary, creep forward slowly to gain a better view.
- Check again: A new angle can reveal a vehicle or pedestrian hidden by an obstruction.
- Commit only when clear: Continue scanning while entering and completing the maneuver.
Instructors may demonstrate how small changes in vehicle position improve sightlines, but students should never angle into a conflict path to see farther. The safest approach combines low speed, active observation, and patience.
Practice in parking lots and quiet side streets first. A parent can park near, but not inside, an obstructed view and ask the teen to identify what remains hidden. Professional driving lessons can then expose the student to urban intersections, commercial entrances, dense vegetation, and multi-lane traffic while an instructor manages the difficulty.
7. Prepare for Intersection Hazards and Emergency Situations
Hazard prediction starts before the immediate junction. Look several intersections ahead for brake lights, emergency vehicles, congested lanes, pedestrians near corners, bicycles approaching crossings, and vehicles that may run a signal. This broader scan helps you avoid focusing so narrowly on the traffic light that you miss a developing problem.
A vehicle may enter unexpectedly, especially as a signal changes. Keep your approach controlled and avoid accelerating immediately when your light turns green. Check the intersection before proceeding, while also watching for pedestrians who have started crossing and drivers clearing the opposing direction late.
Choose the safest response
Different hazards call for different actions:
- Pedestrian enters unexpectedly: Reduce speed and stop if needed. Keep the crosswalk clear when possible.
- Vehicle runs a red light: Look both ways before entering, even after your signal changes.
- Cyclist approaches the crossing: Give the cyclist space and confirm the path before turning.
- Rain or glare limits visibility: Reduce speed, increase following distance, and use lights appropriately.
- Mechanical trouble occurs: Signal, move out of the travel path when possible, and avoid stopping in the intersection.
Emergency braking should be learned in a controlled environment, not improvised for the first time in traffic. A qualified instructor can teach smooth braking, steering control, and hazard response without encouraging students to create dangerous situations.
The FHWA pedestrian safety guidance highlights design measures such as leading pedestrian intervals, refuge islands, crosswalk lighting, and pedestrian hybrid beacons. It explains that a leading pedestrian interval can allow pedestrians to begin crossing 3 to 4 seconds before turning traffic receives a green signal. That design context reinforces an important driving habit: expect pedestrians to become visible before you begin a turn.
Fatigue also changes decision quality. Take breaks during long drives, and don't continue practicing when the student is too tired to scan consistently.
8. Understand Intersection Types and Adapt Your Strategy
The control type changes the questions you need to ask. At a signalized intersection, identify your phase and watch for turning traffic. At a stop-controlled intersection, determine who stopped first and check every approach. At a yield-controlled intersection, reduce speed and give priority to traffic already moving through the junction.
Uncontrolled intersections require extra caution because no signal or sign assigns movement. Slow down, search for road users from every direction, and be prepared to yield. Rural intersections may have higher approach speeds and fewer visual cues, while urban intersections often include more lanes, pedestrians, cyclists, buses, and turning vehicles.
Practice one configuration at a time
Roundabouts require a different rhythm. Slow before entering, yield to traffic already circulating, follow lane markings, and avoid stopping within the circle unless traffic prevents movement. Signal when exiting and watch marked pedestrian crossings. If you miss the intended exit, continue around rather than making a sudden lane change.
The IIHS reports that U.S. intersections converted to roundabouts experienced 72% to 80% reductions in injury crashes and 35% to 47% reductions in all crashes, as documented in its intersection and roundabout safety publication. The same publication reports that in 2024, intersections accounted for 34% of urban pedestrian deaths and 17% of rural pedestrian deaths. Those figures support deliberate practice in both city and non-city settings.
Use a GPS route before driving so you can anticipate complex approaches without studying the screen while moving. Ask an instructor to repeat any configuration that feels unfamiliar. A-1 Driving School's online Joshua's Law options and hands-on driving lessons can help students connect the rule for each intersection type with the physical layout they see from the driver's seat.
8-Point Intersection Safety Comparison
| Technique | Implementation complexity | Resource requirements | Expected outcomes | Ideal use cases | Key advantages |
|---|---|---|---|---|---|
| Approach Intersections with Reduced Speed and Maximum Visibility | Low–Medium, habit and scanning practice | Practice time in varied lighting/weather; instructor feedback | Increased reaction time; earlier hazard detection | All intersections, limited-visibility locations, novice drivers | Reduces collision severity; improves hazard identification |
| Understanding and Obeying Traffic Control Devices | Low, rule learning and compliance | Classroom/online instruction; exposure to signage/signals | Predictable behavior; legal compliance; road-test readiness | Signalized intersections, construction zones, road tests | Prevents confusion and right-angle collisions |
| Executing Safe Left Turns at Intersections | High, requires simultaneous skills (gap judgment, positioning) | Hands-on practice, instructor guidance, low-traffic drills | Safer left turns; fewer broadside collisions; greater confidence | Two-way streets, multi-lane roads, protected/unprotected turns | Mitigates high-risk maneuvers; improves precision |
| Recognizing and Responding to Right-of-Way Rules | Medium, multiple scenarios to assess quickly | Classroom examples, scenario practice, statute review | Reduced indecision; smoother traffic flow; test success | Four-way stops, yield situations, simultaneous arrivals | Prevents side-impact collisions; clarifies priority |
| Managing Distractions and Maintaining Focus at Intersections | Medium, behavioral change and discipline | Pre-drive routines, phone protocols, instructor coaching | Improved hazard recognition; fewer intersection incidents | Passenger vehicles, long trips, novice drivers | Dramatically improves reaction time and decision quality |
| Identifying and Navigating Blind Spots and Obscured Sightlines | Medium, active scanning and positioning skills | Mirror adjustments, head-turn drills, practice in obstructed areas | Fewer unseen hazards; improved visibility and positioning | Urban intersections with parked cars, vegetation, buildings | Reduces blind-spot collisions; increases spatial awareness |
| Preparing for and Handling Intersection Hazards and Emergency Situations | High, adaptive responses and rapid decision-making | Advanced training, simulations, regular emergency practice | Faster appropriate responses; reduced panic and secondary crashes | High-speed or busy intersections, adverse weather, emergencies | Builds instinctive emergency responses and resilience |
| Understanding Intersection Types and Adapting Strategies Accordingly | Medium, multiple procedures to learn | Curriculum coverage, field practice across intersection types | Confident navigation; reduced hesitation in varied contexts | Rural two-way stops, roundabouts, complex urban interchanges | Ensures correct procedures for diverse intersection types |
Turn Intersection Practice into Road-Ready Confidence
Intersection safety improves when parents and teens practice a sequence instead of repeating broad reminders. Begin with signal recognition and speed control. Ask the student to identify the light, stop line, crosswalk, lane markings, and likely hazards before reaching the junction. Then add right-of-way decisions at stop signs, including arrival order and the vehicle on the right when two vehicles stop together.
Once those basics become steady, introduce left turns. Start with protected arrows, then move to permissive turns where the student must judge opposing traffic and yield correctly. Keep the focus on observation, not speed. The student should be able to explain why a gap is safe, identify a pedestrian or cyclist, and complete the turn in the intended lane.
The next practice stage should include obstructed sightlines. Use quiet locations to teach stopping position, mirror checks, head checks, and controlled creeping when appropriate. After that, practice roundabouts and more complex signalized intersections. Parents can choose routes that gradually add traffic, multiple lanes, turning phases, and pedestrian activity without overwhelming the learner.
Emergency response belongs in supervised instruction as well. Students should learn to scan before entering on a green, respond calmly when another driver makes a mistake, and brake smoothly when a pedestrian or vehicle creates an immediate hazard. Professional instructors can correct technique in real time and select locations that match the student's current ability.
Georgia families should pair classroom learning with the required behind-the-wheel experience. Georgia's Joshua's Law requirements state that 16- and 17-year-olds seeking a Class D license must complete an approved driver education program and 40 hours of supervised driving with a parent or guardian, including 6 hours at night. Georgia also recognizes a path involving 30 hours of online instruction through a certified virtual program, 6 hours behind the wheel at a certified school, and the same supervised-driving requirement, as explained by the Georgia Department of Driver Services.
The state's Driver's Education Grant Scholarship Program supports a course consisting of 30 hours of classroom training and 6 hours of behind-the-wheel training, subject to eligibility requirements administered through the state process described in the Georgia driver education scholarship rules. Families should also prepare carefully for the road test. Georgia requires an appointment rather than a walk-in, a valid learner's permit, a passed knowledge exam, and accompaniment by a licensed driver age 21 or older. The test vehicle must have valid liability insurance, registration, and meet the state's safety requirements, according to the Georgia road-test rules.
A-1 Driving School offers online and in-person Driver's Education, Joshua's Law course options, customized driving lessons and driving lessons packages, road-test preparation, and testing assistance. Visit the Georgia DDS testing information to review vehicle and Class D documentation requirements, then build a practice plan that connects classroom instruction, supervised driving, professional lessons, and test-day readiness.
A-1 Driving School offers Georgia Driver's Education and Joshua's Law courses online and in person, along with customized driving lessons packages and road-test preparation for teens and adults. Visit A-1 Driving School to explore intersection-focused lessons, Georgia road-testing assistance, course options, and the Georgia Driver's Education Scholarship Grant Program.