Most parents assume car seat installation is a one-time setup job. The data says otherwise. In 2023, the National Digital Car Seat Check Form database found that 74.0% of car seats inspected by Child Passenger Safety Technicians were installed or used incorrectly, including 83.5% of forward-facing seats and 70.0% of rear-facing seats according to the National Child Passenger Safety Board toolkit.
That number changes how this job should be treated. Child safety seat installation isn't just baby gear assembly. It's a driving safety skill, and in Georgia it matters whether you're a first-time parent, a grandparent driving carpool, or a teen driver newly licensed and carrying younger siblings.
Around metro Atlanta, families also deal with real-world complications that generic advice often skips. Tight back seats. Three-across seating. Shared pickups at school. Multiple caregivers moving the same seat between vehicles. Those are the situations where small shortcuts turn into big mistakes. The same mindset that makes someone a safer driver, paying attention to details, following instructions, checking before every trip, also makes them better at protecting a child passenger.
Why Correct Car Seat Installation Is a Critical Driving Skill
A correctly chosen seat can protect a child very well. A poorly installed one can undo much of that protection. That's why I teach parents to stop thinking about the seat as an accessory and start thinking about it as part of the vehicle's safety system.
The misuse rate matters because most errors aren't obvious from the driver's seat. A car seat can look stable, feel "good enough," and still be routed through the wrong belt path or attached with avoidable slack. That's one reason I encourage families to read stories that reinforce how quickly ordinary driving routines can turn tragic, including this reminder about children left in vehicles and preventable risk.
What drivers need to get right
Every installation comes down to a few decisions:
- Choose the right seat type: rear-facing, forward-facing harnessed, booster, or seat belt only, based on the child's size and the manufacturer's instructions.
- Choose one installation method: lower anchors or the vehicle seat belt. Not both.
- Check movement at the belt path: the seat has to stay secure where it's installed.
- Fit the child correctly: even a well-installed seat won't do its job if the harness or belt fit is wrong.
Practical rule: If you changed vehicles, moved the seat, adjusted the recline, washed the cover, or had another caregiver reinstall it, check everything again.
Why this belongs in driver education
Safe driving isn't only about lane position and braking distance. It's also about how you carry passengers. Teen drivers in Georgia often learn basic road rules through driver's education or Joshua's Law programs, but transporting a younger child adds another layer of responsibility. A child in the back seat depends entirely on the driver to notice loose installation, harness slack, and rushed transitions to the next seat stage.
Parents often tell me the hardest part is not the instructions. It's sorting through conflicting advice from relatives, videos, and online comments. The most reliable approach is simple. Follow the car seat manual, follow the vehicle manual, and verify the setup with objective checks instead of guesswork.
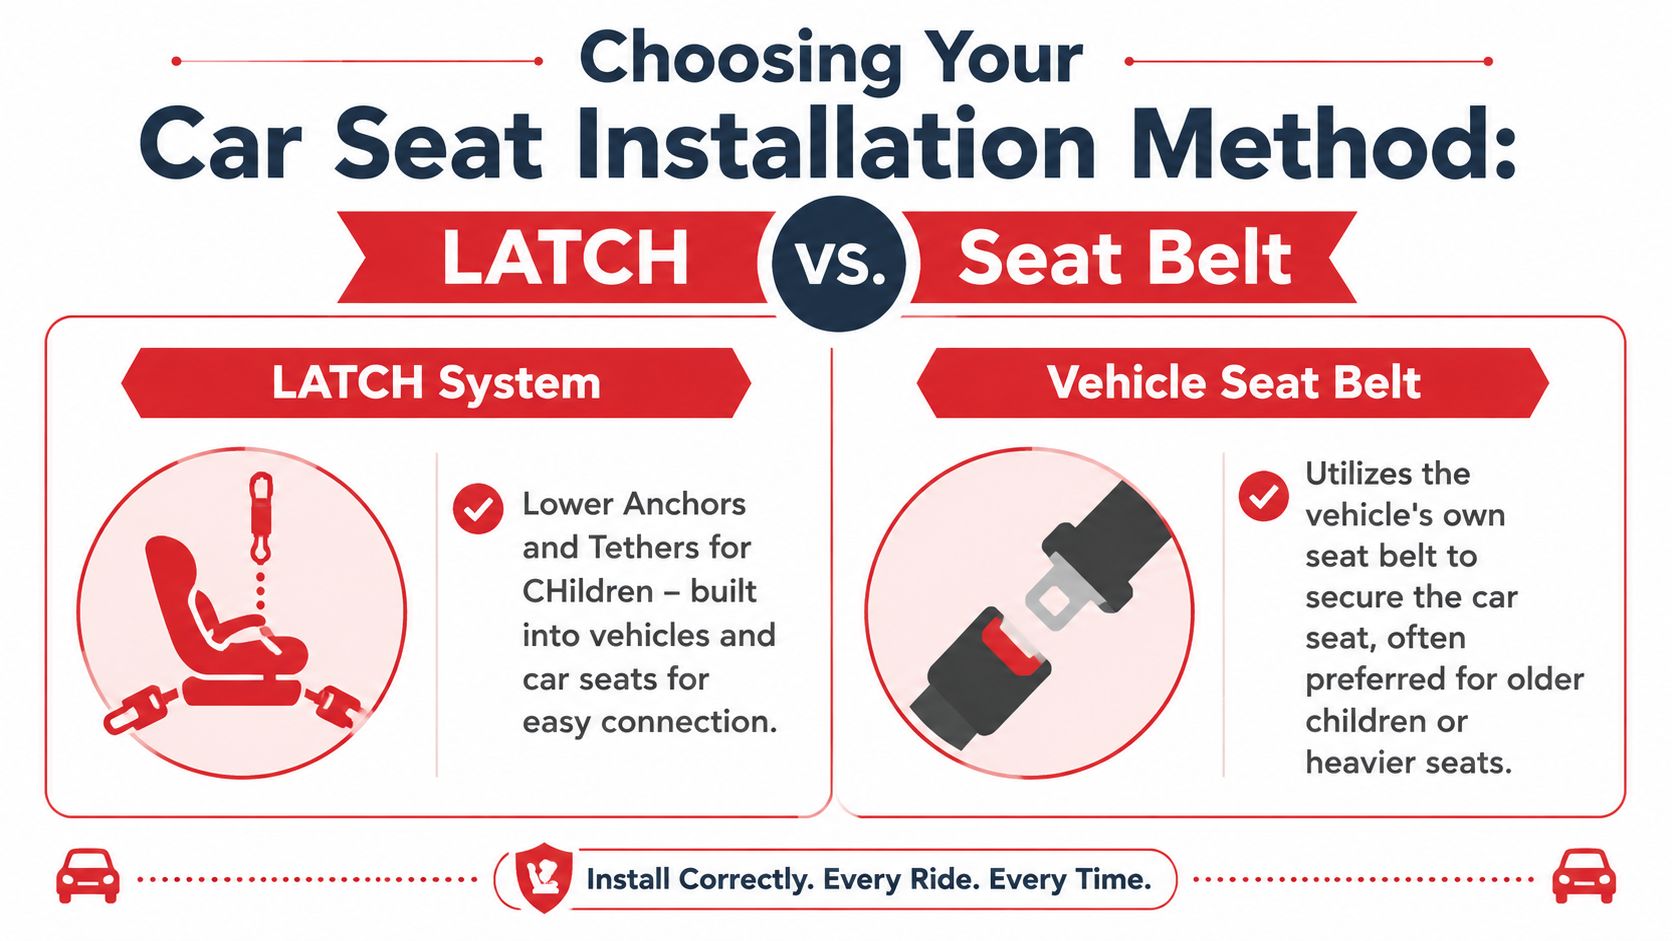
Choosing Your Installation Method LATCH vs Seat Belt
Both installation methods can work well. The better choice is the one that matches your vehicle, your child safety seat, and the instructions for that exact setup.
LATCH works well when the setup is straightforward
LATCH stands for Lower Anchors and Tethers for Children. In many vehicles, it's convenient because the anchors are built into the seat bight and the connectors are easy to click in. For many parents, that feels more intuitive than learning how to route and lock a seat belt.
But convenience creates false confidence. A 2024 NHTSA study on rear-facing car seat installation found that 38% of parents incorrectly assumed LATCH was safe for infants regardless of weight. The same NHTSA guidance also notes that vehicles with active rear airbags in the back seat shouldn't use LATCH for rear-facing seats because of interference risks.
That tells you something important. LATCH is not automatically the safer method. It's only one approved method when the seat and vehicle allow it.
Seat belt installation is often the better long-term option
A seat belt installation usually gives you more flexibility across different seating positions and different vehicles. It's also the method many families end up using as the child grows or as the seat changes vehicles.
What matters is not whether you used the lower anchors or the seat belt. What matters is whether you followed the correct belt path, removed slack, and locked the installation the way the manuals require.
Use the method you can install correctly every single time. A familiar, repeatable seat belt install often beats a rushed LATCH install.
Quick comparison
| Method | Best when | Watch for |
|---|---|---|
| LATCH | The anchors are present, approved for that seating position, and within the seat's allowed limits | Anchor location confusion, weight limits, incompatible seating positions |
| Seat belt | You need flexibility, the lower-anchor limit has been reached, or the chosen seat position doesn't support LATCH use | Wrong belt path, failing to lock the belt, hidden slack |
How to decide in your own car
Ask these questions before you install:
- Does this seating position allow lower anchors? Not every back-seat position does.
- Does the car seat permit this method for this child size? Check the manual, not assumptions.
- Can you get a tighter install with one method over the other? Some vehicles clearly favor one method.
- Will the seat stay in one car or move often? Repeated transfers often push families toward the method they can reproduce most reliably.
One mistake I see often is treating LATCH like a universal shortcut. It isn't. Another is assuming a seat belt install is old-fashioned or less secure. It isn't. Both are legitimate. The wrong choice is the one that ignores the manuals or the seat's limits.
Installing Rear-Facing and Forward-Facing Harnessed Seats
Execution matters more than confidence. A careful installation follows the same sequence every time, even when you're tired, in a parking lot, or trying to get out the door with a fussy child.
Rear-facing installation
Rear-facing seats protect the head, neck, and spine by supporting the child's body into the shell of the seat. That only works when the seat is installed at the proper recline and attached through the correct rear-facing belt path.
Use this sequence:
- Place the seat in the back seat. The back seat is the safest location for children under 13.
- Set the recline. Rear-facing seats should be as reclined as the seat allows under the manufacturer's guidance. Use the built-in recline indicator if your seat has one.
- Choose one installation method. Use either lower anchors or the vehicle seat belt.
- Route through the rear-facing belt path. Many mistakes often begin here. Rear-facing and forward-facing belt paths are not interchangeable.
- Tighten gradually while pressing where the manual instructs. Removing slack is easier when you apply pressure to the child seat as you tighten.
- Verify movement at the belt path. This is the final test, not a quick shake at the top of the seat.
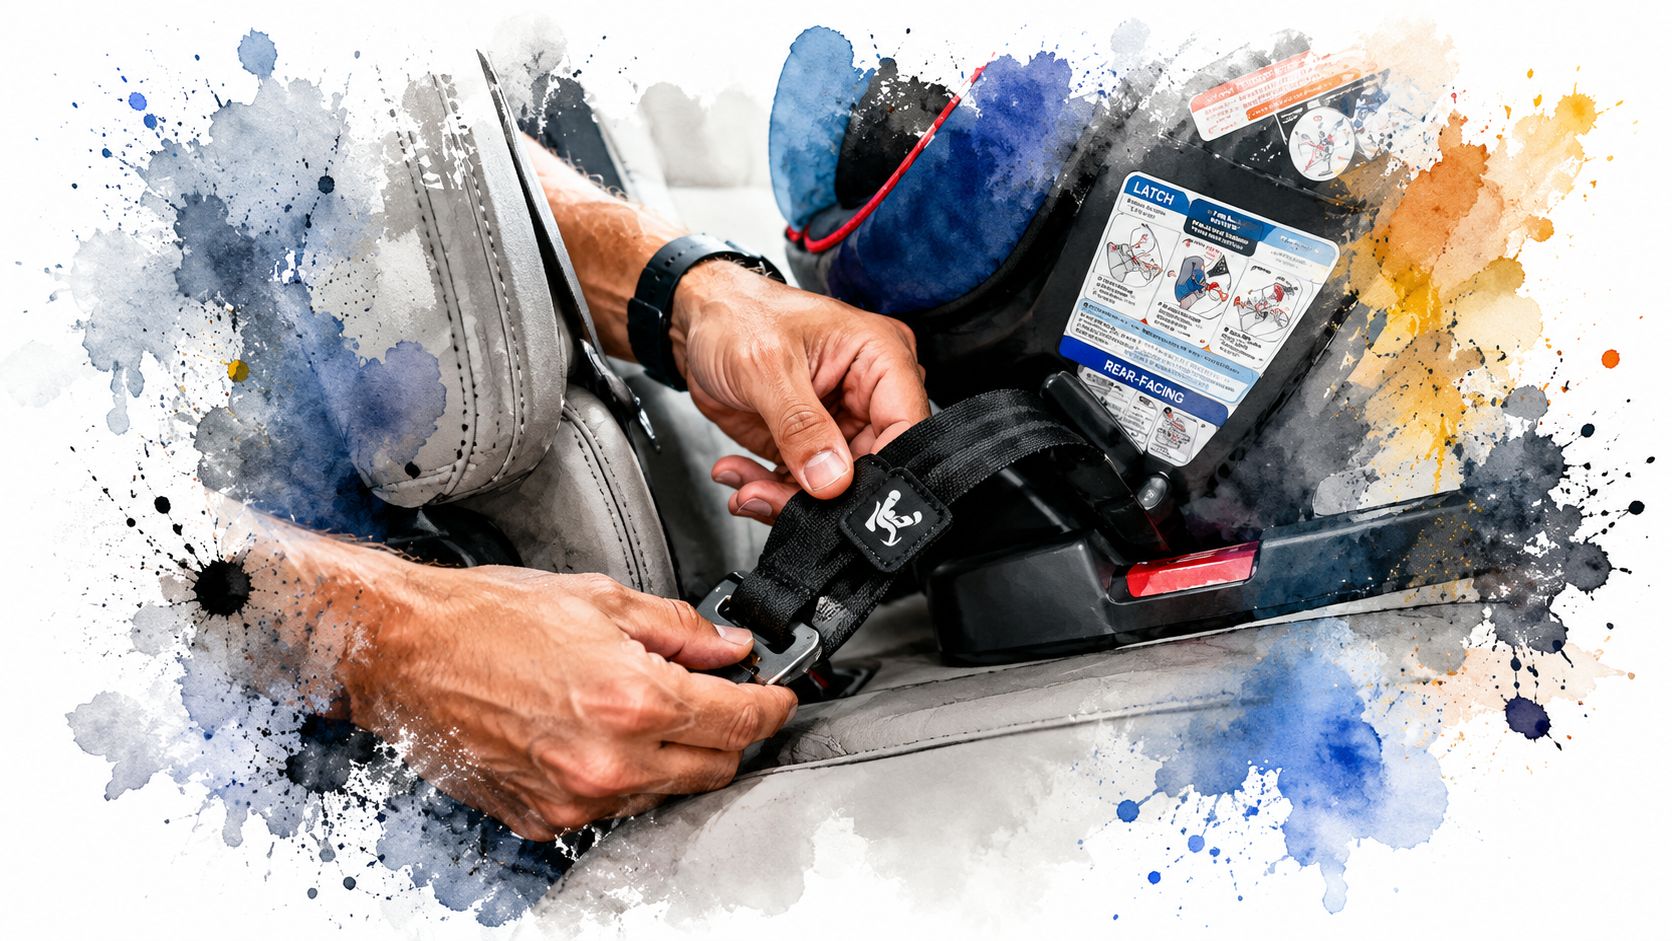
Forward-facing installation
Forward-facing harnessed seats have one step that families skip too often. The top tether.
According to Safe Kids guidance on installing your car seat, for a correct installation the seat should move no more than 1 inch in any direction when tugged at the belt path. The same guidance says the top tether is not optional for forward-facing seats, and lower-anchor use must stop once the combined child-plus-seat weight exceeds the limit, commonly 65 pounds.
That changes the process. A secure forward-facing install is not complete until the tether is attached and tightened.
The forward-facing checklist that works
- Use the forward-facing belt path: double-check the label on the seat before tightening.
- Attach the top tether: connect it to the correct tether anchor, not a cargo hook or another metal point.
- Tighten the base first, then the tether: the tether is not there to compensate for a loose main installation.
- Stop using lower anchors when required: if the combined child-plus-seat weight exceeds the allowed limit, switch to a seat belt installation and keep using the tether if forward-facing.
A short visual can help if you're more comfortable seeing the process before doing it yourself.
The inch test
The inch test is the single check I trust most because it cuts through wishful thinking. Grab the seat at the belt path, not at the headrest or top edge. Tug side-to-side and front-to-back. If it moves more than 1 inch, reinstall it.
A car seat often feels loose at the top and still passes. What matters is movement at the belt path, where the seat is secured to the vehicle.
What usually helps in Atlanta-area vehicles
Many families around Georgia drive compact SUVs, sedans with sloped rear cushions, or vehicles where two adults are sharing the setup. In those cars, the best results usually come from slowing down and avoiding mid-install improvising.
Try this order:
- Read both manuals first
- Set the recline before tightening
- Identify the correct belt path visually
- Tighten in stages, then test
- Recheck after the first few drives
If you're reinstalling after cleaning, travel, or switching vehicles, don't assume it went back the same way. Start fresh and verify every step.
Perfecting the Harness Fit and Booster Seat Setup
A seat can be installed correctly and still protect poorly if the child isn't secured correctly inside it. This oversight is often why many careful parents lose protection without realizing it.
The safety benefit of car seats is substantial when the seat fits the child and is used correctly. The National Safety Council notes that child safety seats reduce the risk of fatal injury by 71% for infants under 1 and 54% for children ages 1 to 4 in passenger cars, as outlined in its child restraint safety summary.
Harness fit for rear-facing and forward-facing seats
After the seat is installed, secure the child with the same level of precision.
Use this quick fit check:
- Harness lies flat: twisted straps reduce consistent contact with the body.
- Chest clip sits at armpit level: too low changes how the harness stays positioned.
- Straps are snug enough to pass the pinch test: if you can pinch webbing at the shoulder, it's too loose.
- The child is dressed in regular clothing, not bulky layers: heavy coats can create hidden slack.
A good harness fit should look calm and boring. No drooping straps. No chest clip over the stomach. No thick padding added unless the manufacturer allows it.
Check before every drive: Installation can stay the same for months. Harness fit changes every time the child gets buckled.
For a broader reminder that restraints matter at every age, this seat belt safety article is worth reviewing with older children and teen drivers in the household.
Booster seats are about belt fit, not just age
A booster seat doesn't restrain the child by itself. Its job is to position the vehicle's lap and shoulder belt correctly on the child's body.
That means the setup is right only when:
| Belt section | Correct position |
|---|---|
| Lap belt | Low across the upper thighs, not across the stomach |
| Shoulder belt | Across the chest and collarbone, not cutting into the neck or falling off the shoulder |
The most common mistake is moving to a booster, or out of one, too early. If the belt doesn't fit correctly without help, the child still needs the booster. If the child slouches, leans out of position, or tucks the shoulder belt behind the back, the booster is not being used safely.
What works in daily use
Parents usually do better when they build one repeatable buckle routine:
- Child sits all the way back.
- Hips stay back against the vehicle seat or booster.
- Lap belt goes low.
- Shoulder belt crosses the chest.
- Driver gives a final glance before moving.
That last glance matters more than people think. Children shift. Grandparents rebuckle differently. After-school carpools get rushed. Good child safety seat installation includes what happens after the seat is anchored.
Common Installation Mistakes and How to Avoid Them
Most installation failures are basic fit and routing problems, not broken hardware. Nationwide Children's notes that common errors include using the wrong belt path, failing to lock the vehicle belt, and leaving slack in the tether, and stresses that correct orientation and snug fit are essential to crash performance in its child safety seat guidance.
That matches what shows up in everyday practice. The seat usually isn't failing because the family didn't care. It's failing because the setup looked right before it was checked.
Problem and fix
The seat feels tight at the top, but loose where it matters.
Check movement only at the belt path. A lot of seats have natural movement higher up.
The seat belt is routed correctly, but the install still loosens over time.
The vehicle belt may not be locked the way the vehicle manual requires. Reinstall it and confirm the belt stays fixed after tightening.
The forward-facing seat is secure, but the child's head seems to move forward more than expected.
Look for a missed or loose top tether. A forward-facing seat needs that tether attached and tightened.
The caregiver used both lower anchors and the seat belt because it seemed stronger.
Use one main attachment method unless the manufacturer specifically permits otherwise. More connection points do not automatically mean a safer install.
Vehicle-specific trouble spots
Georgia families often drive vehicles with split-folding benches, sliding second rows, or center seats that don't behave like the outboard positions. Those layouts create confusion fast.
Watch for these issues:
- Non-standard seating positions: don't assume the center seat has lower anchors just because the outer seats do.
- Sliding seats: verify that anchors and routing remain approved in that exact position.
- Shared family vehicles: one caregiver may reinstall using memory instead of the manual.
- Three-across setups: pressure from a neighboring seat can hide looseness or change the angle.
If the seat only works when another seat presses against it, treat that as a warning sign and recheck the setup carefully.
The mistake behind many others
Rushing is the common thread. Parents install in the dark, between errands, during rain, or with a tired toddler in one arm. That's normal life. The fix is to use a short repeatable checklist and redo the install when something feels off, instead of trying to rescue a questionable setup with one more pull on the strap.
Georgia Car Seat Laws and Expert Help
Georgia drivers should always follow current state law and the manufacturer instructions for both the car seat and the vehicle. The safest habit is to treat the legal minimum as a floor, not the standard you're aiming for. Children belong in the back seat as long as recommended, and seat transitions should happen only when the current seat has been outgrown.
Local help matters because a hands-on check often catches problems that don't stand out in a driveway. If your seat has been moved between cars, installed in a tricky back seat, or adjusted after a growth spurt, getting another set of trained eyes on it is a smart step.

Safety doesn't stop with the car seat
The same household habits that protect a child passenger also shape safer drivers. That includes calm decision-making, proper mirror checks, managing distractions, and understanding that careless choices can escalate fast, as shown in this example of driving behavior leading to child endangerment charges.
For Georgia families, that broader safety foundation often starts with driver's education, Joshua's Law training, supervised practice, and skill-based driving lessons. Online course options can help students meet classroom requirements, but hands-on lessons are where many new drivers build judgment, control, and consistency. Road test preparation matters too, especially for teens and adults who need a clear path from learning to licensing.
A practical next step for Georgia families
If you're raising a teen driver while transporting younger children, think about safety as one system:
- Child restraint safety at pickup and drop-off
- Driver's education that teaches responsible habits
- Road test preparation that reduces rushed last-minute practice
- Driving lesson packages that build confidence in real traffic conditions
- Scholarship options that can make training more accessible
A driver who knows how to carry passengers safely is a better driver overall.
If your family needs help building those habits, explore A-1 Driving School for Georgia driver's education, Joshua's Law courses, online learning options, road testing, the Georgia Driver's Education Scholarship Grant Program, and especially behind-the-wheel driving lessons and lesson packages designed to help teens and adults become safer, more capable drivers.