A successful parallel park depends on a consistent reference point, slow speed, and small corrections while the examiner observes your safety and control; in Georgia, practice in a space 22 feet long by 10 feet deep and finish no more than 18 inches from the curb. Treat the maneuver as a repeatable sequence, not a last-minute steering trick.
You're beside the parking space, your foot is on the brake, and suddenly the cones look closer than they did during practice. That's when a familiar routine helps: establish your starting position, check around the car, reverse deliberately, and stop whenever you need to reassess.
Parallel parking feels intimidating because the curb, markers, and nearby vehicles leave little room for guesswork. Trying to remember every movement at once makes it harder. Instead, connect each steering input to something you can see, such as your position beside the forward marker or the clearance around your front bumper.
Practice priority: Build a routine you can repeat safely, including the observation checks and exit, rather than chasing a perfect-looking entry.
These parallel parking tips for road test preparation focus on practical control. The useful measure of progress isn't how quickly you finish, but whether you understand where the car is going and can stop before a mistake becomes contact.
1. Set Up Your Reference Point Before Reversing
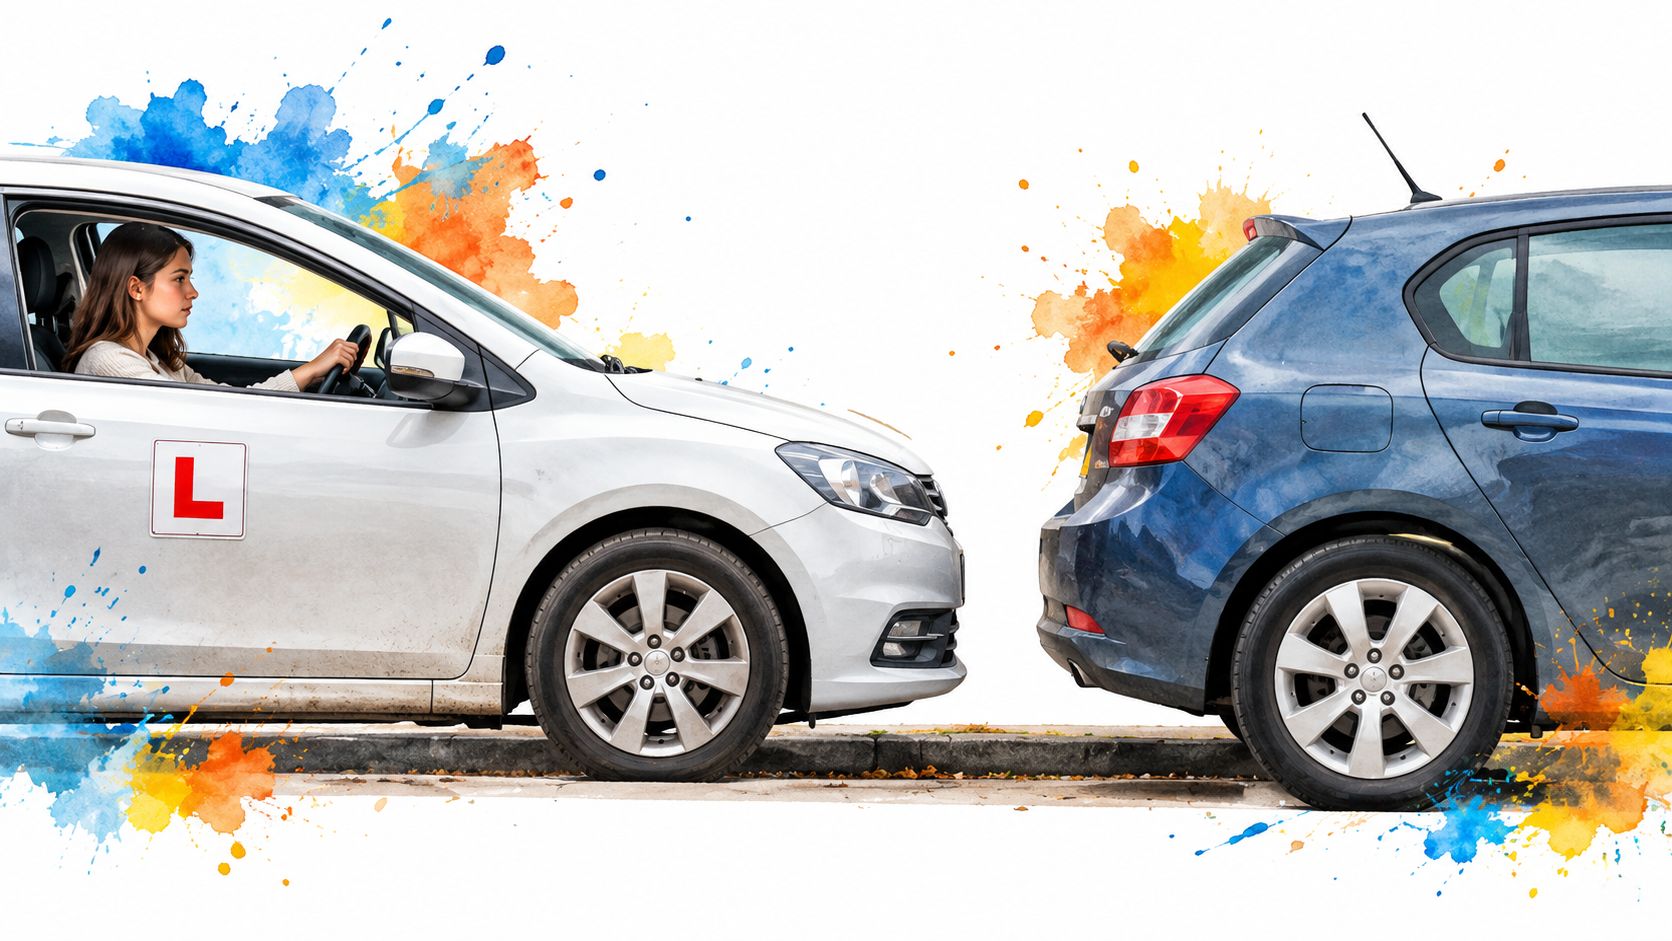
Your starting position affects everything that follows. If you begin farther from the curb or farther behind the forward vehicle on each attempt, the same steering movement won't produce the same result.
For the lateral gap, use approximately 2 feet of clearance beside the forward vehicle or standard, consistent with Georgia DDS parallel-parking guidance. Stop with the car parallel to the curb, then confirm the forward-and-back alignment you've practiced in that vehicle.
Make the Starting Cue Vehicle-Specific
Mirror alignment can be a helpful cue, but it isn't a universal formula. A mirror sits in a different position from a bumper, and a cone doesn't represent every part of a parked vehicle. Choose a reference with your instructor, test it, and keep your seat and mirror settings consistent.
For example, a learner may stop beside the forward marker, notice that the car is angled toward the curb, and reposition before reversing. That pause is more useful than trying to compensate for a poor setup halfway into the space.
- Set your seating position: Adjust the seat before establishing visual landmarks.
- Check lateral clearance: Look at the gap along the car, not just beside your mirror.
- Confirm alignment: Use the bumper or other reference you've calibrated during supervised practice.
- Stop before reversing: Complete your observation checks before the wheels move backward.
Practice the setup separately from the full maneuver. Pull alongside, stop, assess the position, and reset when necessary. Once that starting position becomes consistent, you can diagnose steering mistakes without wondering whether the approach caused them.
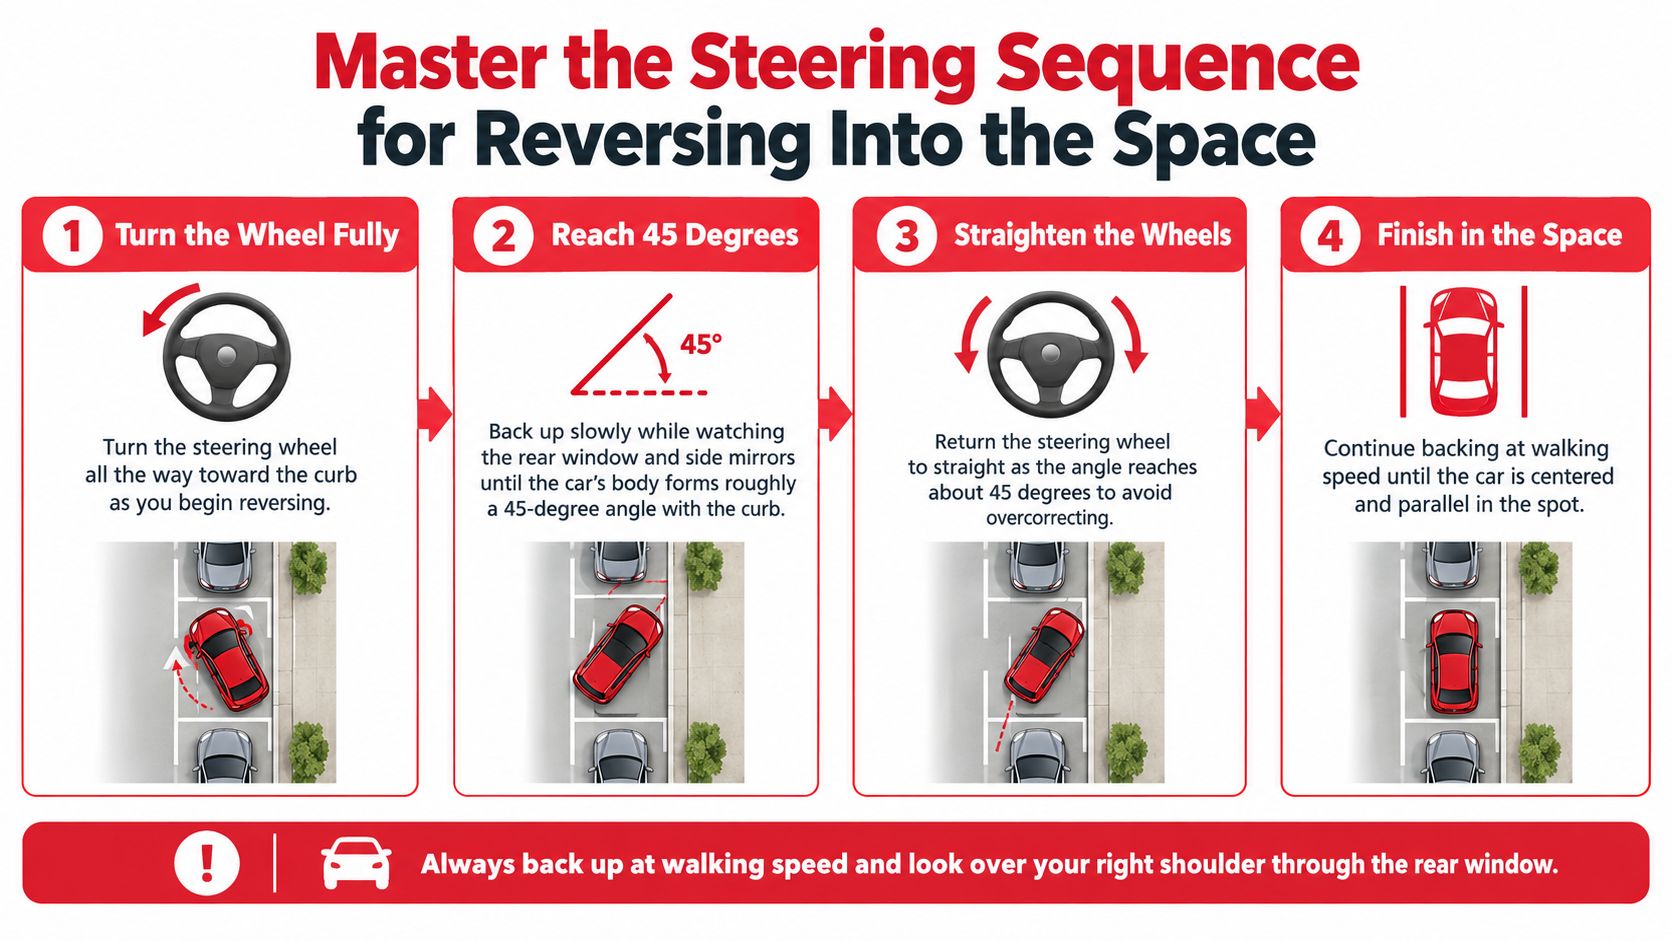
2. Master the Steering Sequence for Reversing Into the Space
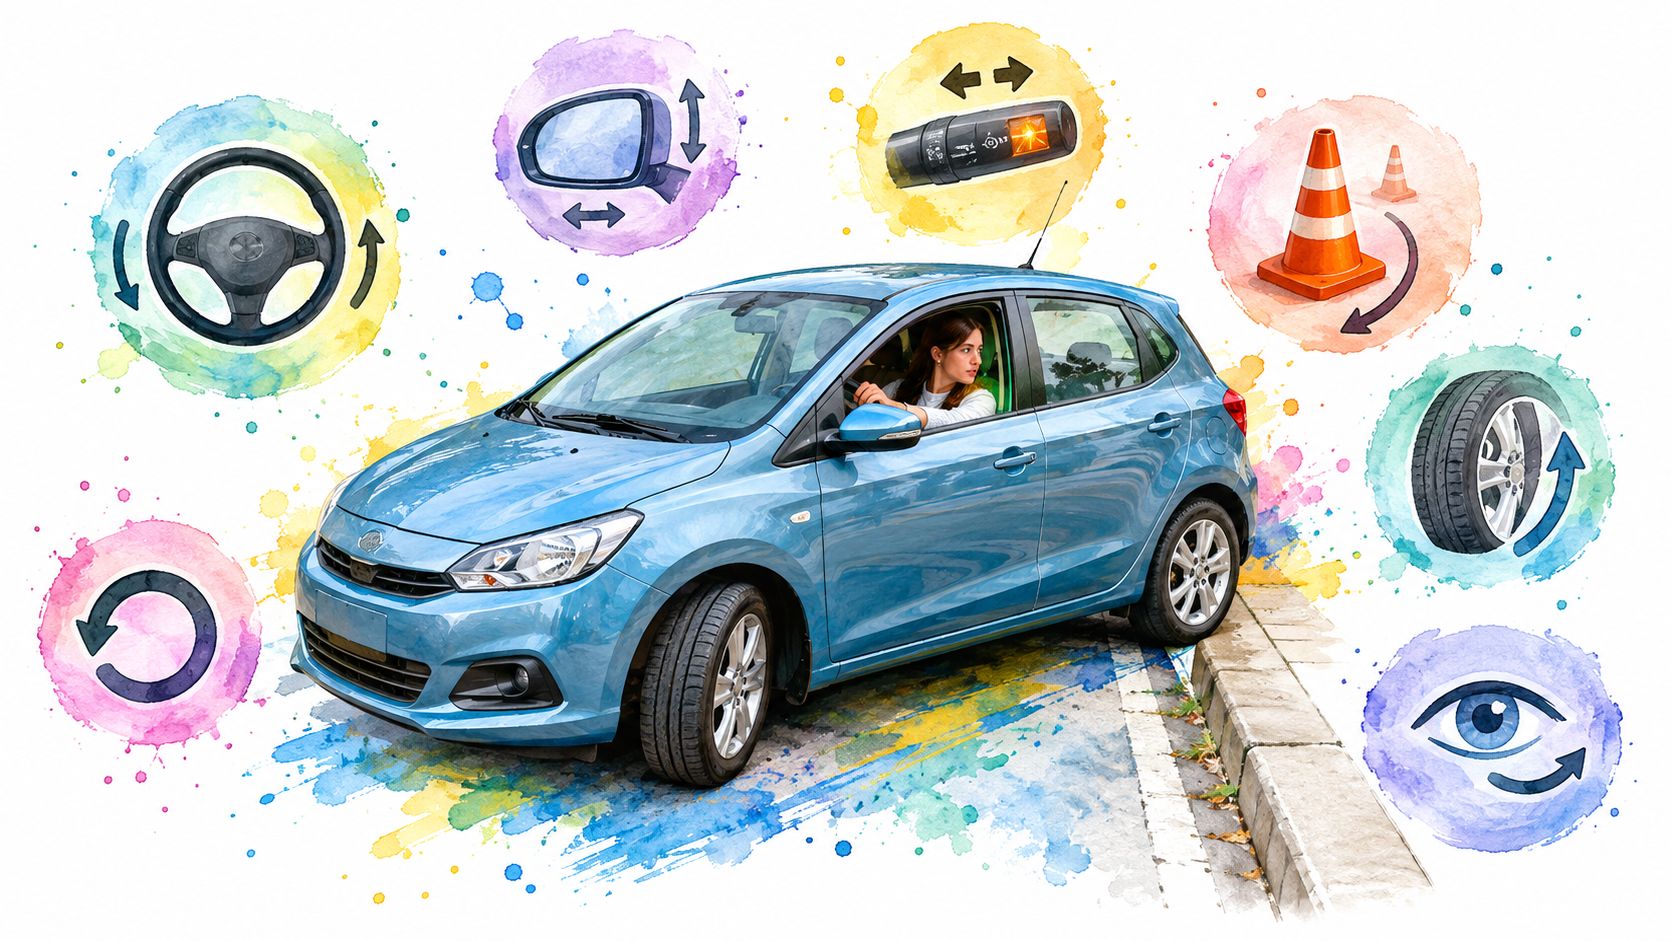
Think in steering transitions, not one continuous turn. The rear of the car must enter the space, the front must clear the forward obstruction, and the vehicle must then become parallel to the curb.
For right-side parking, Georgia DDS describes a sequence of signaling, reversing with the steering wheel sharply right, straightening when the front door passes the lead vehicle's rear bumper, and steering sharply left once the front bumper clears that vehicle. Finish by selecting drive, steering right, and centering the car.
Use the demonstration to visualize how the steering stages connect.
Separate the Movement Into Visible Checkpoints
Begin with a clear view behind you and reverse at a crawl. As the rear enters the space, watch its relationship to the curb while also checking the front end's outward swing. Straightening the wheels lets the car continue along its entry path before the opposite steering input brings the front into alignment.
A realistic practice error is leaving the first turn in too long. The rear gets close to the curb while the front remains outside the space, and the learner feels tempted to turn faster. Stop instead. Assess the clearance before deciding whether to continue or reposition.
Don't use faster steering to rescue movement you haven't observed. Slow the car enough to see the next checkpoint.
During supervised practice, say the stages aloud: turn toward the space, straighten, clear the front, turn away, align. Your instructor can then identify whether you missed a landmark or understood it but moved too quickly. Those are different problems, and they need different practice.
3. Judge the Space Size Before You Commit
On a street, you can reject an unsuitable gap. On a road test, you need to work within the examiner's designated area rather than substitute your own parking location.
Generic space rules shouldn't replace local test requirements. For comparison, California's official handbook recommends selecting a space at least 3 feet longer than the vehicle. Georgia applicants should use the state-specific layout described earlier instead of assuming every jurisdiction uses the same benchmark.
Read the Whole Space
Before positioning the car, identify the front boundary, rear boundary, curb line, and traffic alongside you. A gap that looks generous from the approach can feel different once you're seated beside it. Don't judge usable room from a single mirror glance.
For example, a learner approaching a cone layout may focus on the opening between the markers but overlook the marked outer boundary. During practice, have the supervisor identify the entire parking area before the attempt, then let the learner describe where the vehicle must finish.
- Locate both ends: Know what limits forward and backward movement.
- Find the curb reference: Distinguish the curb line from unrelated pavement markings.
- Check the approach: Leave room to establish your usual starting position.
- Separate street decisions from test instructions: Decline an unsuitable street gap, but ask for clarification if the examiner's designated boundaries are unclear.
The step-by-step parallel-parking guide provides a useful sequence to review before supervised practice. Use it to organize the maneuver, not to replace a direct assessment of the actual space.
4. Control Speed and Use Mirrors Continuously
If you're choosing between looking and steering because the car is moving too quickly, reduce your speed. You need enough time to observe, interpret what you see, and stop before reaching a boundary.
In an automatic vehicle, practice easing brake pressure so the car creeps rather than surges. Vehicle response varies, so learn how the test car moves on the practice surface instead of assuming it behaves like another car. Keep your foot ready to stop smoothly.
Scan Where the Car Could Make Contact
Mirrors help you track the curb and boundaries, but they don't replace direct observation. Look behind you before reversing, check blind spots, and revisit the side where the front of the vehicle swings outward. Georgia's parking guidance requires signaling before beginning and when leaving, checking the vehicle's position relative to the boundaries, and stopping before contacting the rear standard.
A learner might watch the curb-side mirror so intently that they miss a pedestrian approaching from the other side. The right response is to stop and reassess, even if the steering sequence was progressing correctly.
- Before moving: Check mirrors, blind spots, and the intended path.
- While reversing: Alternate rearward observation with curb-side and front-clearance checks.
- Before changing direction: Stop completely, select the appropriate gear, and check again.
- When visibility changes: Pause rather than continue on the assumption that the path remains clear.
Control rule: Your speed should leave enough time to stop after noticing a problem, not merely enough time to notice it.
An instructor can separate speed-control practice from parking accuracy by asking you to creep, stop smoothly, and restart in an open area. Once those movements are predictable, add steering and boundaries. Don't ask yourself to learn brake sensitivity and parking geometry simultaneously.
5. Use Small, Controlled Corrections Instead of Large Adjustments
A correction should solve a specific problem. Before moving again, decide whether the car is angled, too far from the curb, or poorly centered between the boundaries.
Those conditions don't call for identical steering. Driving straight ahead can create clearance, but it won't automatically remove an angle. Likewise, turning sharply without checking the available room can bring a bumper closer to a marker while moving another part of the car away.
Diagnose Before You Adjust
Suppose the rear is close to the curb but the front remains angled outward. Stop and check the room ahead and behind. With supervision, make a short movement that gives you clearance to change the vehicle's angle, then reassess rather than committing to a long adjustment.
- Angled position: Identify which end needs to move and where it has room to travel.
- Excessive curb gap: Use a controlled repositioning maneuver rather than steering toward the curb blindly.
- Poor centering: Once parallel, adjust forward or backward with the wheels appropriately aligned.
- Uncertain clearance: Stop and obtain guidance during practice before continuing.
Georgia DDS states that applicants may park on either side and must keep the entire vehicle inside the marked area without crossing cone boundaries. For left-side parking, reverse the directional steering inputs, but retain the same principles of observation, clearance, and alignment.
Practice both sides before the test. If you change vehicles, recalibrate the visual cues in a safe layout rather than assuming your old mirror landmark still works.
For practice, deliberate small corrections are useful. For testing, don't assume an unlimited allowance or rely on a claimed universal correction count. Follow the examiner's instructions and keep every movement controlled.
6. Practice Under Test-Like Conditions with Cones and Traffic
Empty-lot practice lets you isolate technique without pressure from passing vehicles. It's valuable, but it shouldn't be your only preparation.
Build a cone layout that matches Georgia's dimensions given earlier, including a visible curb reference and the full marked boundary. Don't place markers by eye and assume the setup is accurate. A tape measure helps you create the space and check your final curb clearance after parking safely.
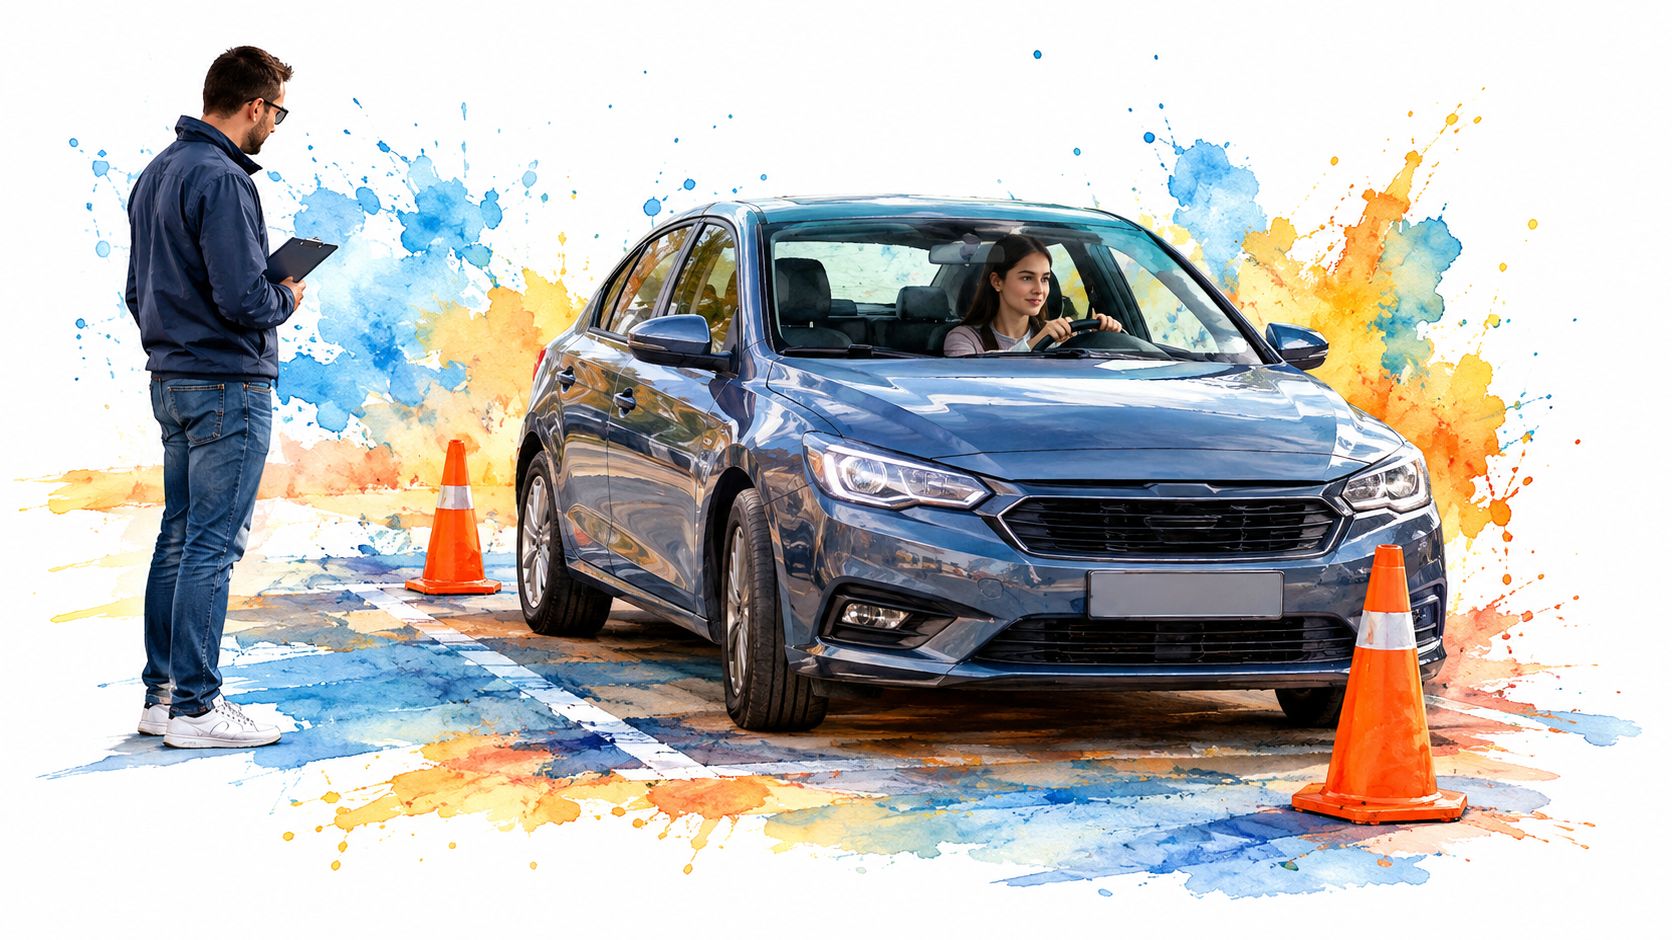
Give Each Attempt a Specific Purpose
For example, a student repeatedly finishes at an angle. The supervisor watches the next attempt and notices that the student begins the opposite steering input before checking front-end clearance. Practice should focus on that transition, not just repeat the entire maneuver without feedback.
Record observations in plain language:
- Setup: Was the car parallel before reversing?
- Steering: Which visible checkpoint triggered each change?
- Observation: Did the learner check before every movement?
- Finish: Was the car aligned, centered, and clear of every marker?
The guide to improving parking skills can help organize targeted practice between lessons. Bring your recurring error to the next lesson so the instructor can assess it directly.
Once cone practice is controlled, progress to lawful parking opportunities on quiet streets with an appropriate supervising driver. Don't create artificial obstacles in active traffic. Street practice adds pedestrians, approaching vehicles, and decisions about whether it's safe to begin.
Practice in the intended test vehicle whenever possible. Video demonstrations can help explain the sequence, but they can't confirm whether you're judging clearance correctly from your own driving position.
7. Prepare Mentally and Understand What Examiners Look For
You don't need to perform for the examiner. You need to carry out the same safe routine you've practiced.
Focus on actions within your control: signal, observe, establish the starting position, move slowly, and check the finish. Georgia's boundary and curb requirements still apply even when the car looks generally parallel. Don't stop evaluating once you've entered the space.
Remove Avoidable Test-Day Uncertainty
Vehicle preparation matters too. Georgia DDS road-test requirements specify an applicant-supplied four-wheel vehicle with valid registration and a license plate, and an accompanying licensed driver who is at least 21 years old. For a temporary dealership tag, DDS requires a bill of sale showing purchase within the previous 30 days, or 7 days when purchased from a third party.
Confirm those arrangements before the appointment rather than discovering a documentation issue when you arrive. If you're using a school-provided vehicle, ask about the arrangements and opportunities to become familiar with it.
- Before the appointment: Review requirements and confirm the vehicle and accompanying driver.
- Before the maneuver: Take a calm breath, listen, signal, and complete your checks.
- During the maneuver: Focus on the next visible checkpoint rather than imagining the result.
- Before leaving the space: Check traffic and signal instead of treating the parked position as the end.
For example, a student who notices an imperfect angle can pause, assess clearance, and follow instructions rather than rush through an unplanned correction. That's a better response than assuming the attempt is already lost.
Use the guidance on performance under pressure alongside physical practice. A calming routine helps most when the driving sequence itself is familiar.
7-Point Parallel Parking Tips Comparison for Road Tests
Use this checklist to rehearse the Georgia test dimensions and keep each observation in a consistent order. The parking space is 22 feet long by 10 feet deep, and the vehicle must finish within 18 inches of the curb. Mark the boundaries with cones in a quiet practice area, then work through the checks below before adding traffic or a timed run.
| Road-test checkpoint | What to do | What to confirm before continuing |
|---|---|---|
| 1. Check the space | Locate both ends of the marked space and assess whether your vehicle can fit. | The practice area reflects the required dimensions. |
| 2. Signal and scan | Signal toward the space. Check mirrors and look around for traffic, cyclists, and pedestrians. | The approach is clear before you position the vehicle. |
| 3. Set up | Pull alongside the vehicle ahead or the front marker, leaving room to reverse. | Your starting position is repeatable. |
| 4. Reverse into the space | Move slowly and steer through the entry, checking the vehicle's path as you go. | You can see the curb and both boundaries while reversing. |
| 5. Correct alignment | Pause if needed, check clearance, and make a small adjustment rather than a sharp correction. | The car is within the space and clear of the markers. |
| 6. Check final position | Stop and assess how close the vehicle is to the curb. | The car is within 18 inches of the curb and inside the space. |
| 7. Prepare to exit | Check surrounding traffic and signal when directed to leave. | You can pull out safely without striking a boundary or entering traffic unsafely. |
Practice one checkpoint at a time. If the setup changes on every attempt, reset and repeat the approach before working on steering. If you finish too far from the curb, focus on the entry and alignment, then check the result before adjusting. Ask an instructor to observe a test-style run and note which checkpoint needs attention. This turns the dimensions and observation order into a usable routine, rather than another list of general parking reminders.
Turn Practice Into a Confident Road-Test Routine
Use the same sequence on each attempt: judge the space, signal, check around the car, establish your starting reference, and reverse slowly. Connect steering changes to visible clearance, then assess alignment, curb distance, and position between the boundaries. Finish the routine with a safe, signaled exit when directed.
Track the step you most often miss. If your approach varies, rehearse the setup; if the rear moves too close to the curb, work on the entry transition with an instructor. If you forget observations under pressure, include them in every practice repetition rather than adding them only before the test.
Match Your Training to the Skill You Need
Driving lessons and lesson packages are useful when you need individualized feedback on what happens inside the vehicle. An instructor can watch your sightline, steering timing, and brake control together, then help you practice the specific transition that needs work. Ask for a lesson plan that includes parallel parking, both-side practice, safe corrections, and a test-like run in the intended vehicle.
For teens, classroom learning and practical driving serve different purposes. Under the instructor-led pathway in Georgia's Joshua's Law requirements, 16- and 17-year-olds complete 30 hours of classroom instruction, 6 hours of certified-school behind-the-wheel training, and 40 hours of supervised driving, including at least 6 hours at night; approved virtual instruction and parent-taught pathways are also available. Choose a DDS-approved course and confirm how you'll complete the driving component.
A-1 Driving School offers driving lessons and packages, Joshua's Law Driver's Education, online course options, and Georgia road-test preparation and testing assistance. Ask about the Georgia Driver's Education Scholarship Grant Program, including current eligibility and enrollment requirements, before making assumptions about funding.
Keep the practical objective clear: you should understand why the car moves into position, not just remember where someone told you to turn. Combine course learning with supervised repetitions and targeted instruction until you can recognize a developing mistake and respond calmly.
A-1 Driving School offers customized driving lessons and lesson packages to help you practice parallel parking, calibrate vehicle-specific reference points, and prepare for the Georgia road test. Visit A-1 Driving School to explore lessons, Joshua's Law and online course options, scholarship information, and road-testing assistance, then ask for training focused on the parking step you find hardest.